Welcome to Board.Vision Tutorials. In this tutorial, we will walk you through the steps to resolve a document.
Important Note: The Board.Vision web app is optimised and supported for desktop use on Google Chrome (version 65.0 and later) and Microsoft Edge (version 87.0 and later).
To resolve a document:
1) Log in to your Board.Vision account using your registered email address and password.
2) Once you are logged in, click on SmartSign from the left menu and click on Select Action.
Then, select Resolve from the pop-up menu.
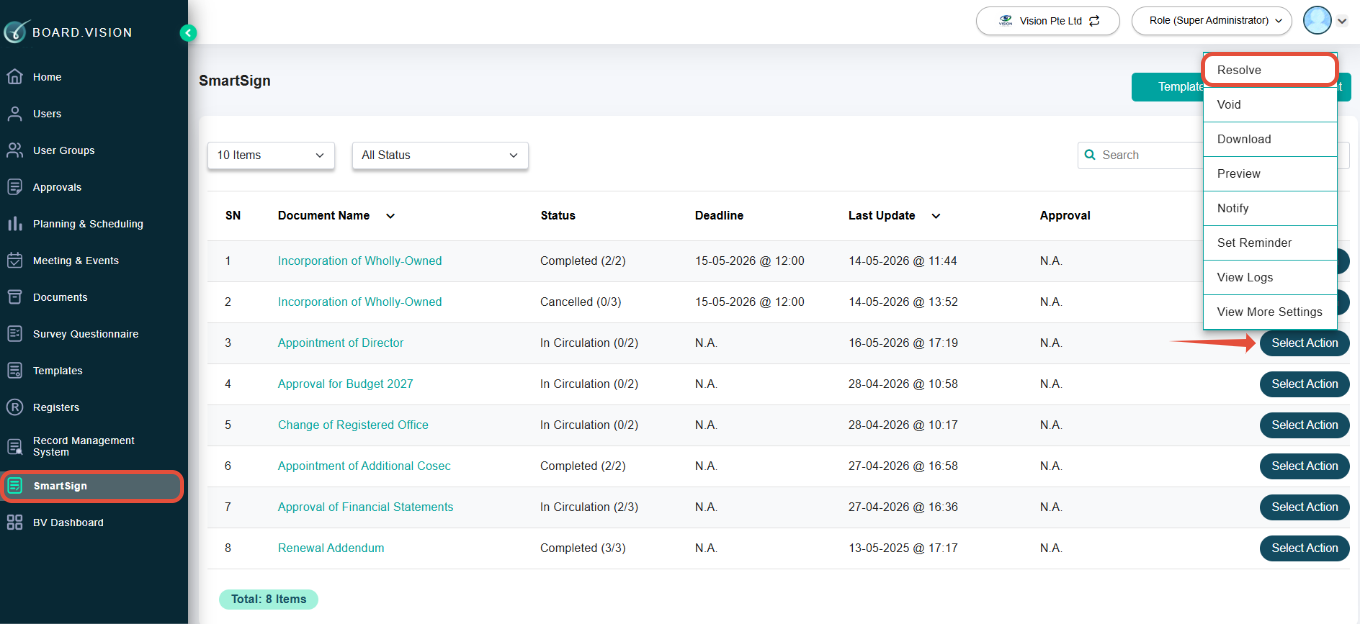
Note: The Preparer is able to resolve a SmartSign document with In Circulation and Deadline Ended statuses.
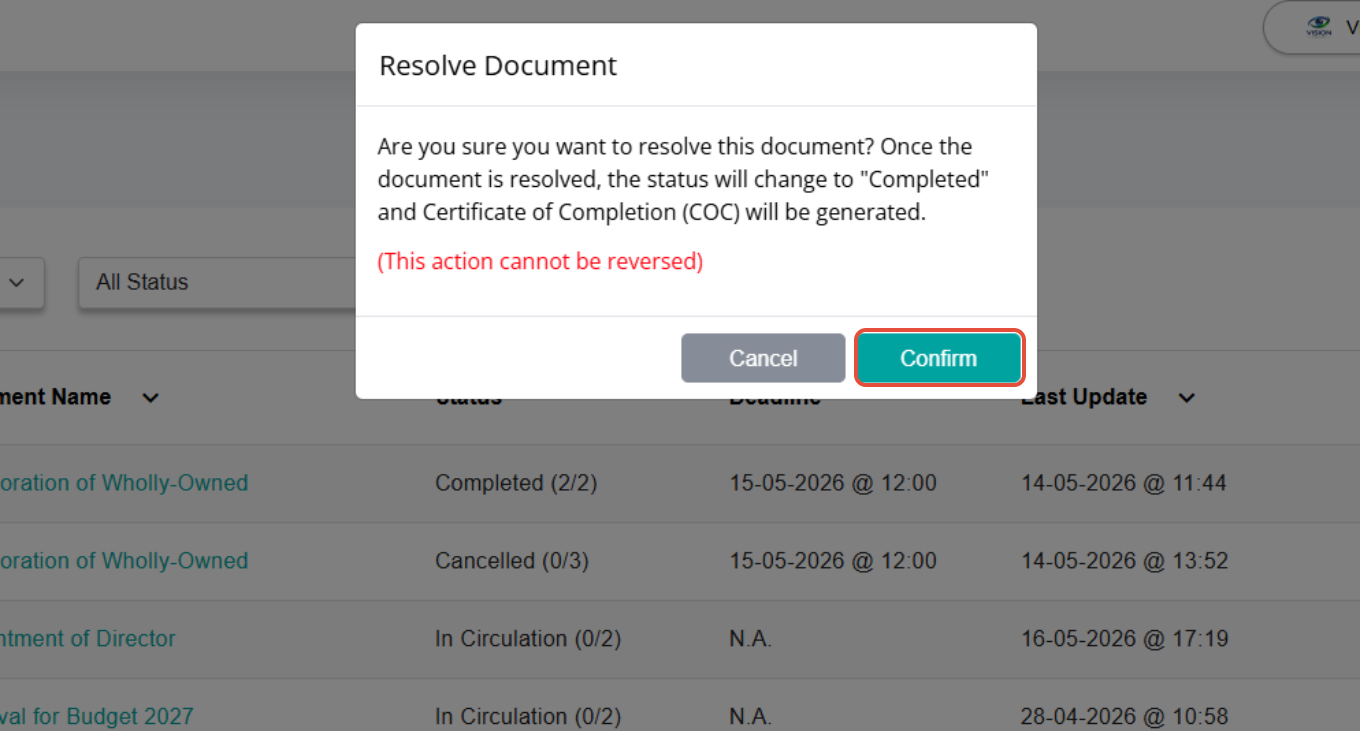
3) On the "Resolve Document" pop-up window, click on Confirm.
Once resolved, the document status will be updated to Completed.
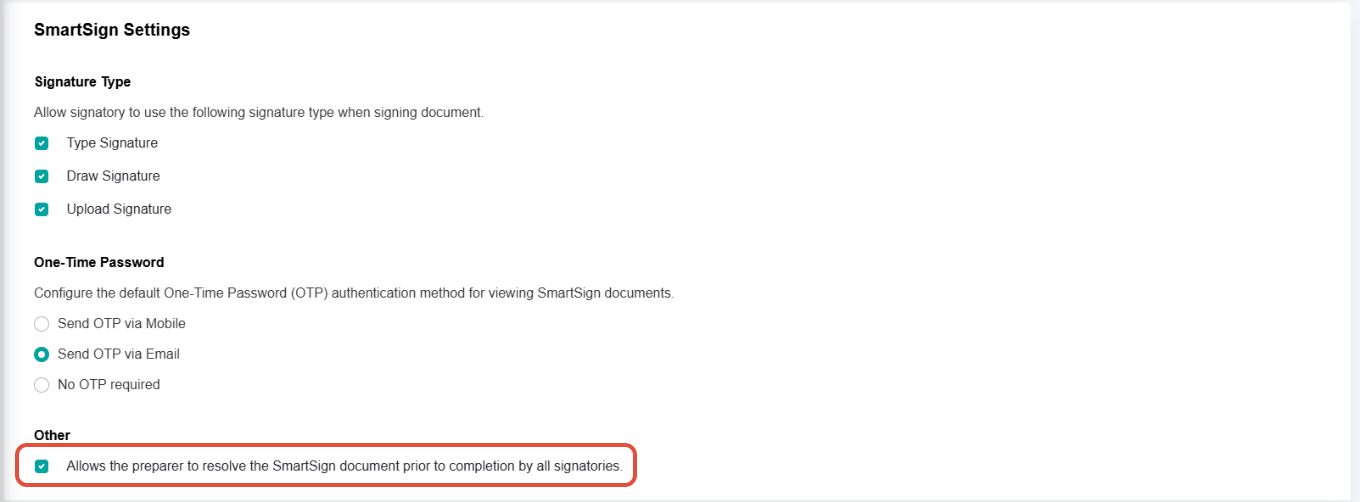
4) The Resolve option is available only if the setting has been enabled by the Product Owner and Super Administrator via Profile > Global Settings > SmartSign Settings.
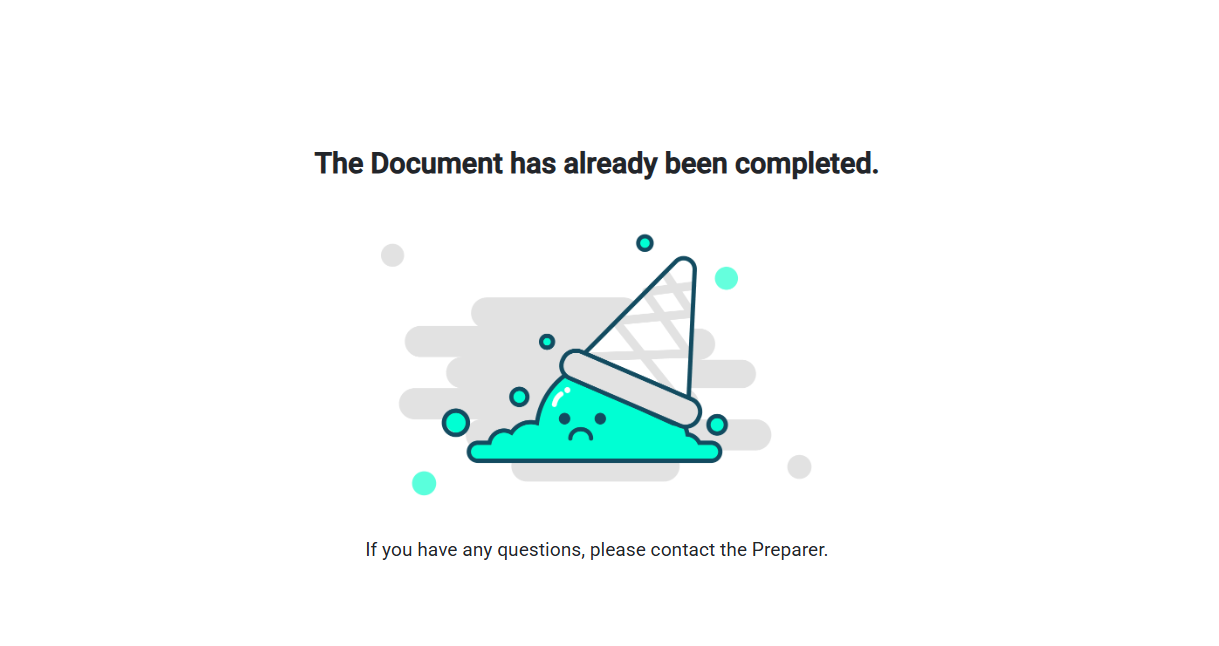
After the document has been resolved by the Preparer, Signatories who click on the “Review Document” link in the email will be directed to the relevant screen.
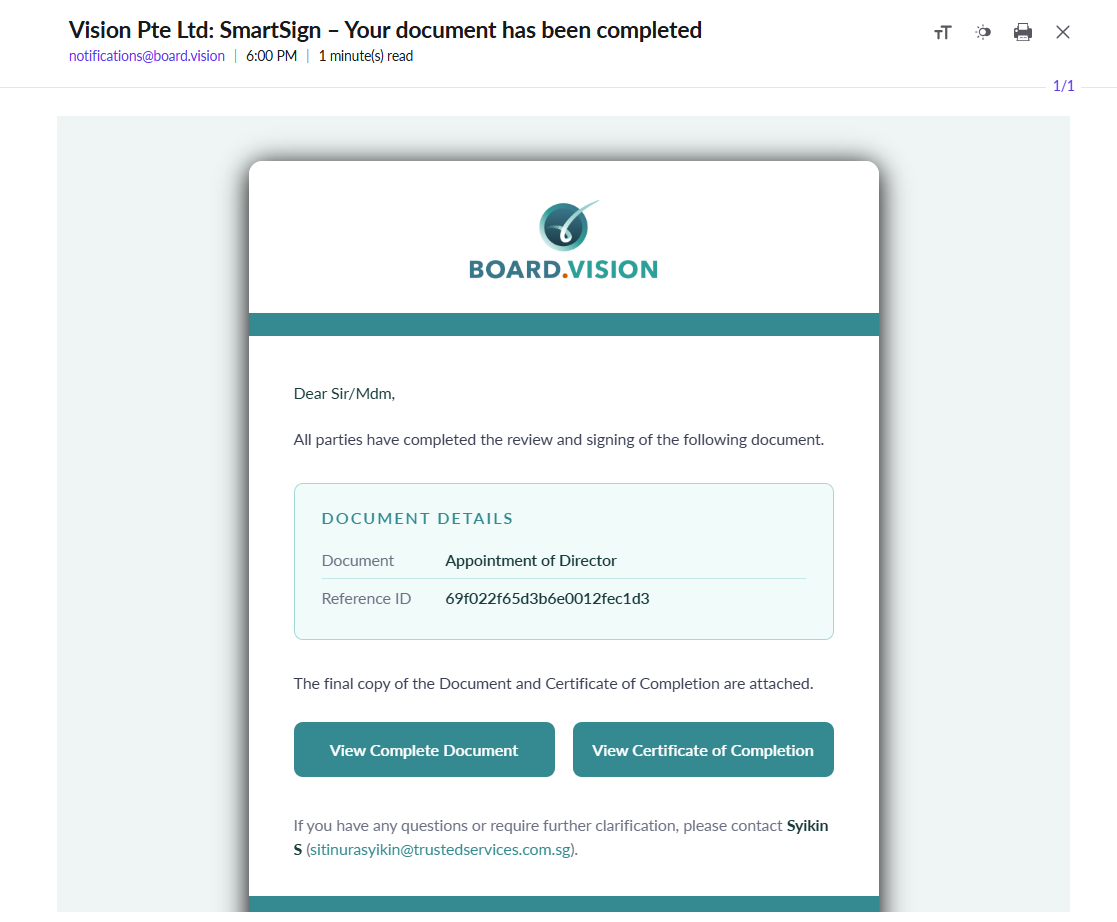
Signatories will receive a separate email from notifications@board.vision with the subject:
"<Company Name>: SmartSign - Your document has been completed”.
You have completed the tutorial on how to resolve a document.
If you face any issues in completing the steps shown in this tutorial, please reach out to our Board.Vision Customer Success Team at support@board.vision or +65 6909 7100 and we will be happy to help.
Our hotline operating hours are from Mondays to Fridays 9:00 AM to 6:00 PM SGT (excluding public holidays).
Was this article helpful?
That’s Great!
Thank you for your feedback
Sorry! We couldn't be helpful
Thank you for your feedback
Feedback sent
We appreciate your effort and will try to fix the article