Welcome to Board.Vision Tutorials!
In this tutorial, we will walk you through the steps to create a Meeting from the Admin Dashboard.
Important Note: The Board.Vision web app is optimized and supported for desktop use on Google Chrome (version 65.0 and later) and Microsoft Edge (version 87.0 and later).
To create a Meeting from the Admin Dashboard:
1) Log in to your Board.Vision account using your registered email address and password.
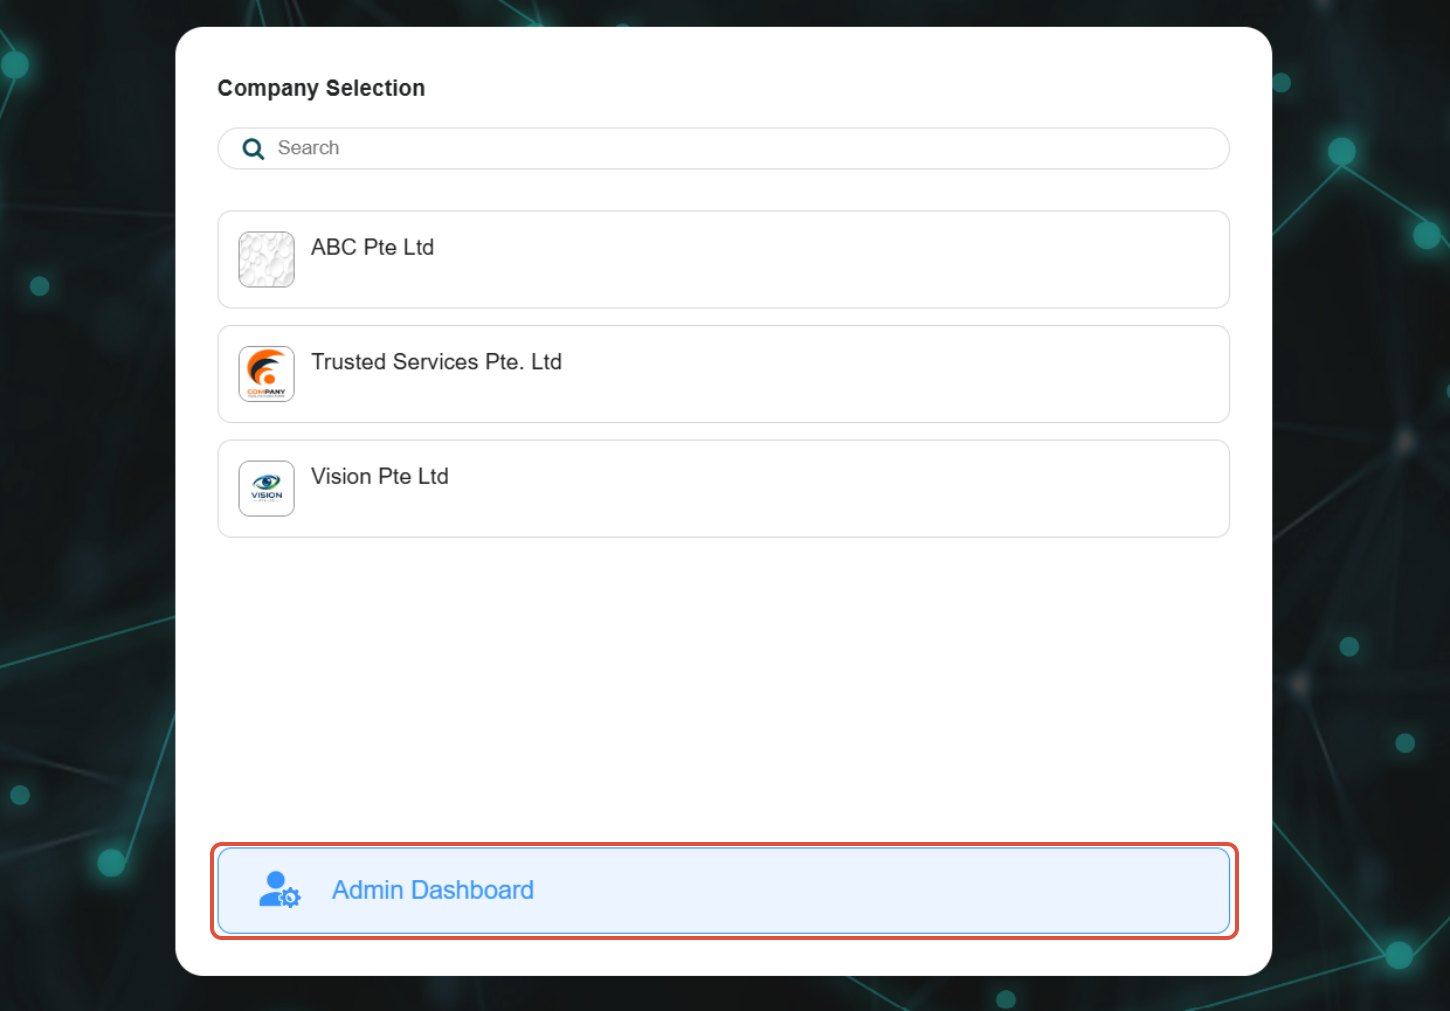
2) Click on Admin Dashboard on the 'Company Selection' screen.
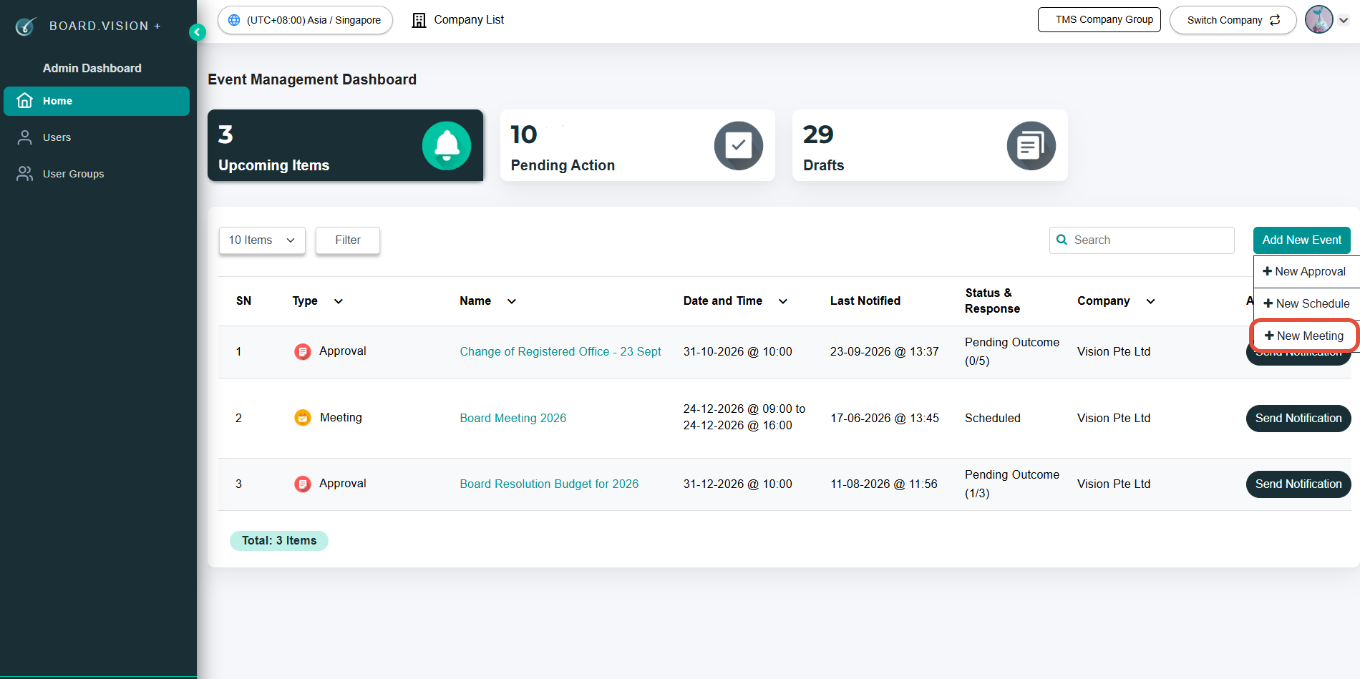
3) Click on the Add New Event button and select New Meeting from the dropdown.
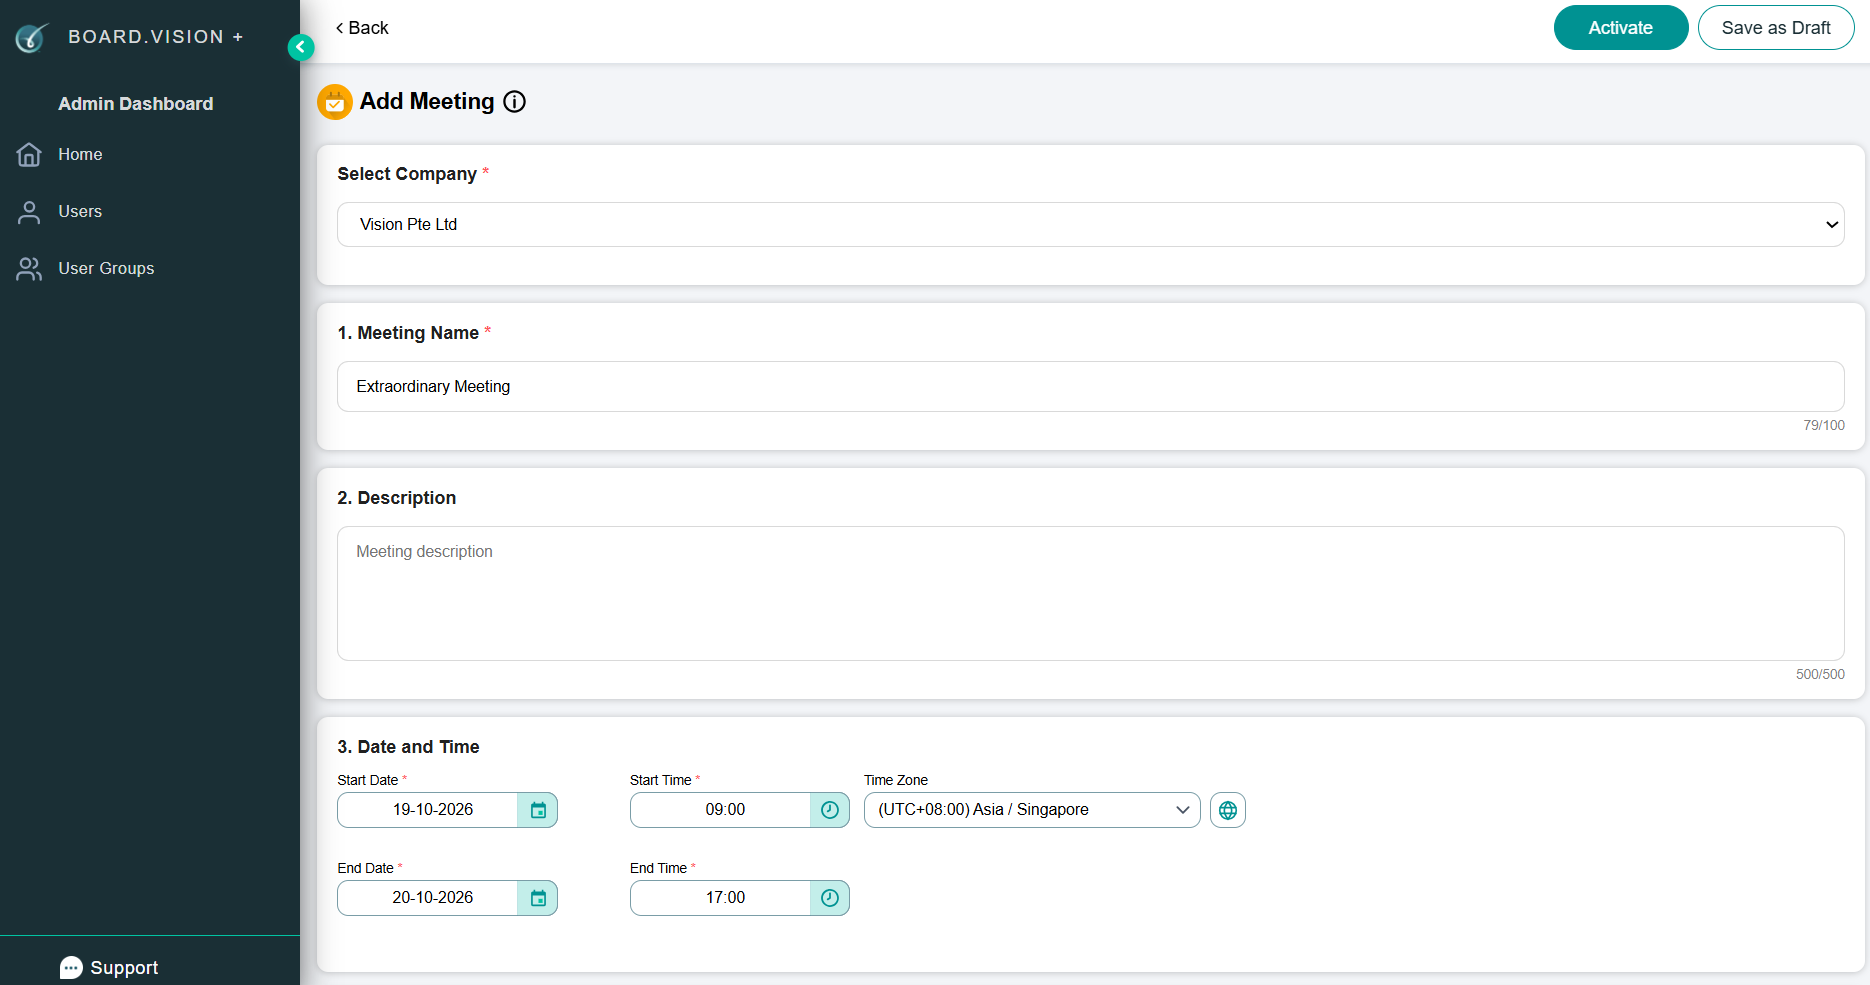
4) Select the company from the Select Company dropdown, then enter the Meeting Name, Description (if any), Date, and Time.
Note: While Administrators configure the event time zone during setup, Business Users will see the relevant dates and deadlines based on their device's time zone.
5) Meeting Venue and Meeting Link (Optional): These fields are optional and can be left blank. However, if your meeting has a physical location or an online link (e.g., Zoom/Teams), you may enter the details here.
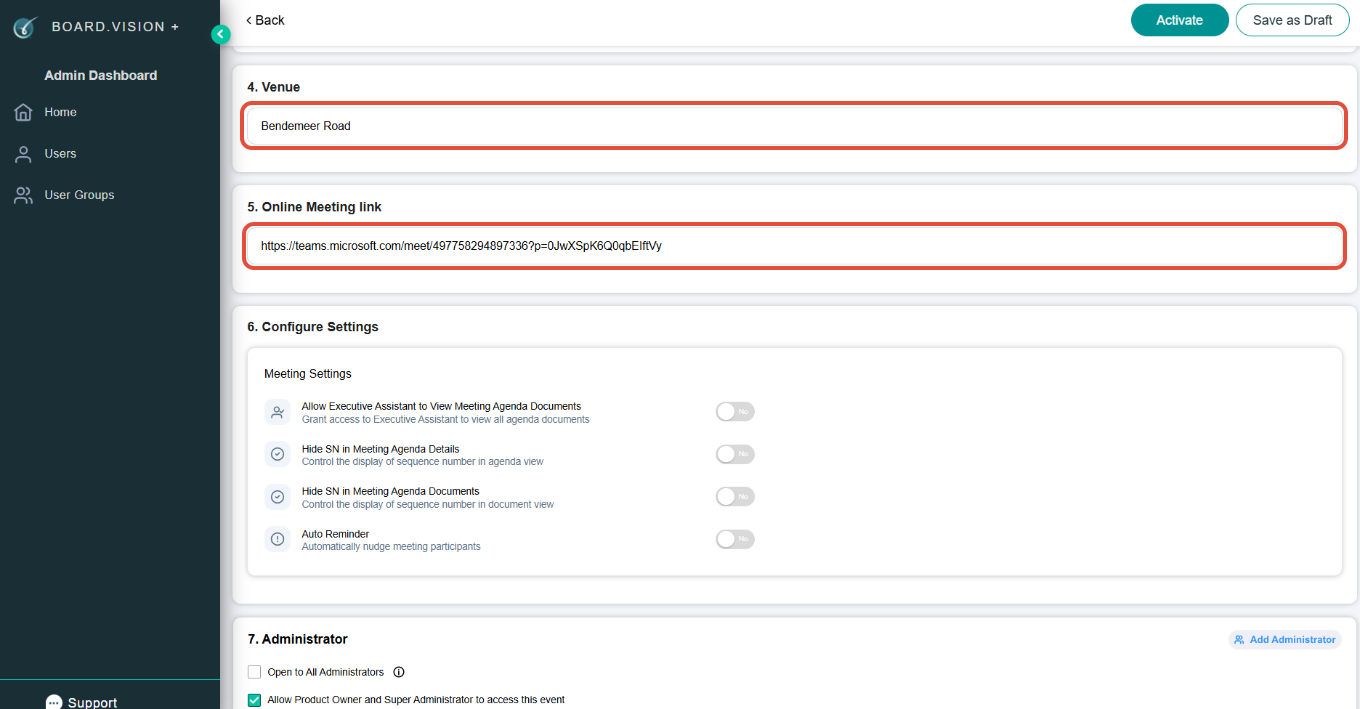
6) Select your preferred options for the meeting:
Allow EAs to view meeting agenda documents: Enables Executive Assistants to access and view attached agenda files.
Hide serial numbers in meeting agenda details: Hides item numbering on the main agenda outline.
Hide serial numbers for meeting agenda documents: Suppresses item numbering on uploaded agenda document attachments.
Set Auto Reminder: Sends automated email and push notifications to Business Users prior to the upcoming meeting.
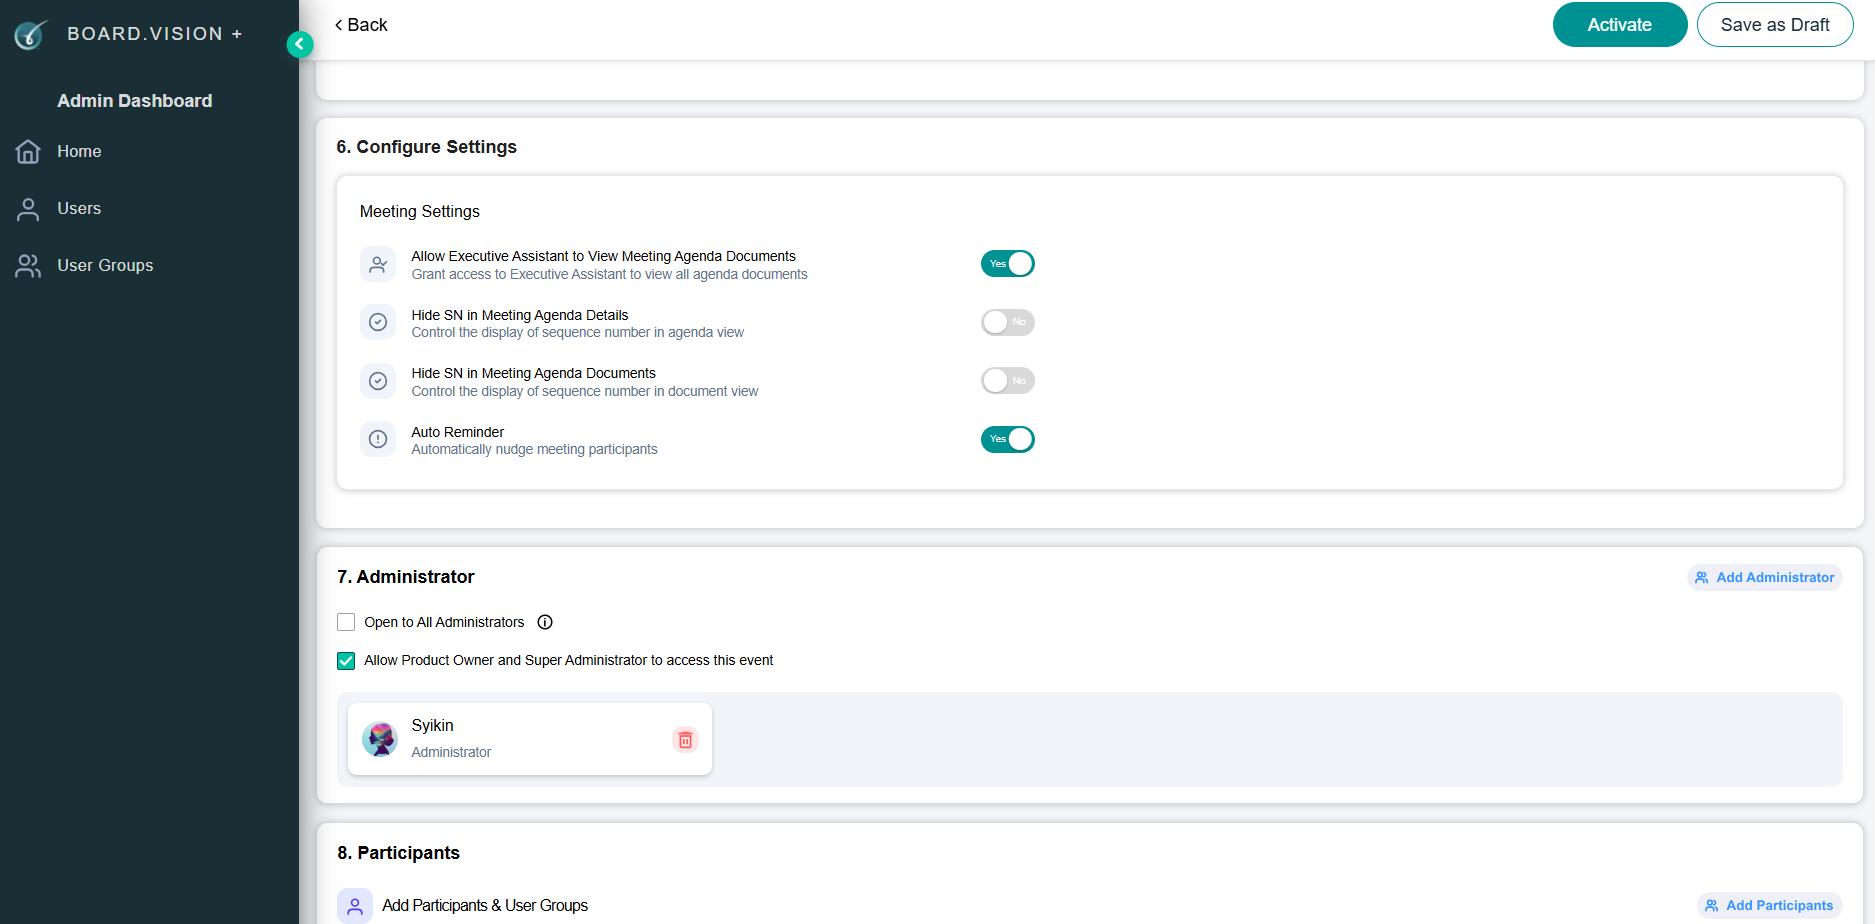
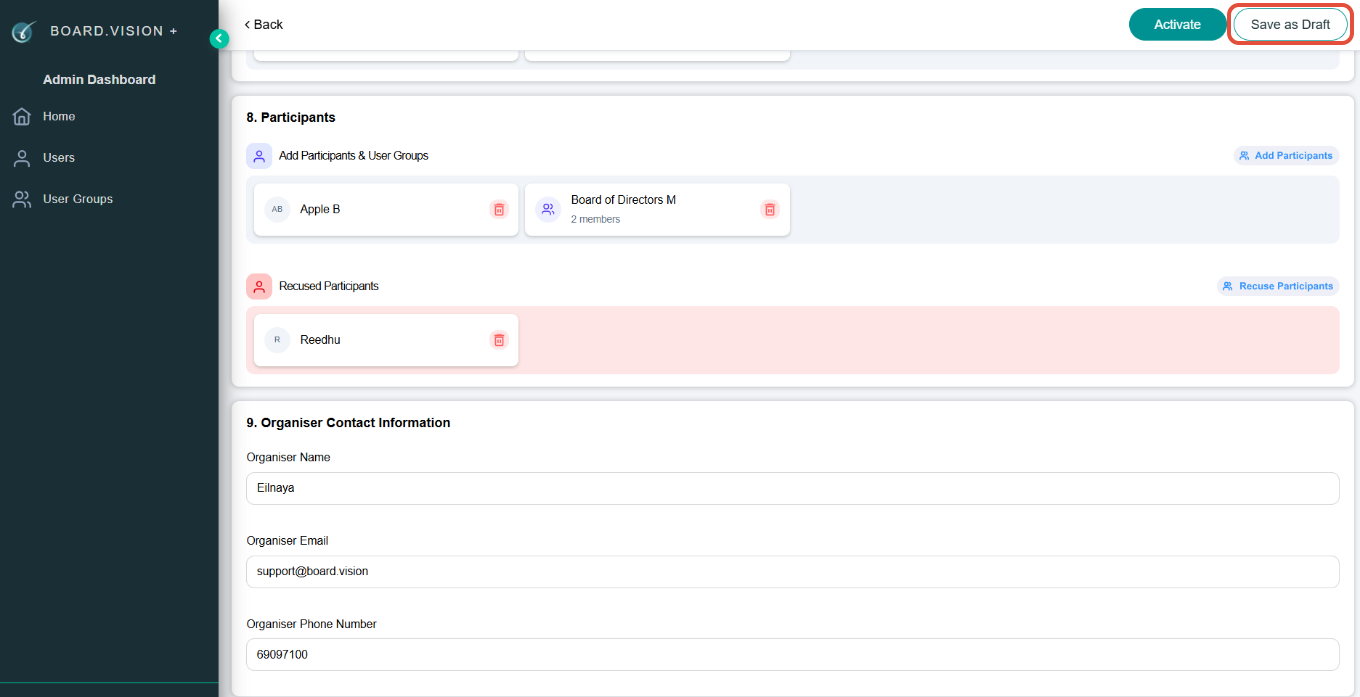
7) To add Administrators, first click on the Add Administrator button, then select the Administrators you wish to add from the Add Administrator pop-up window.
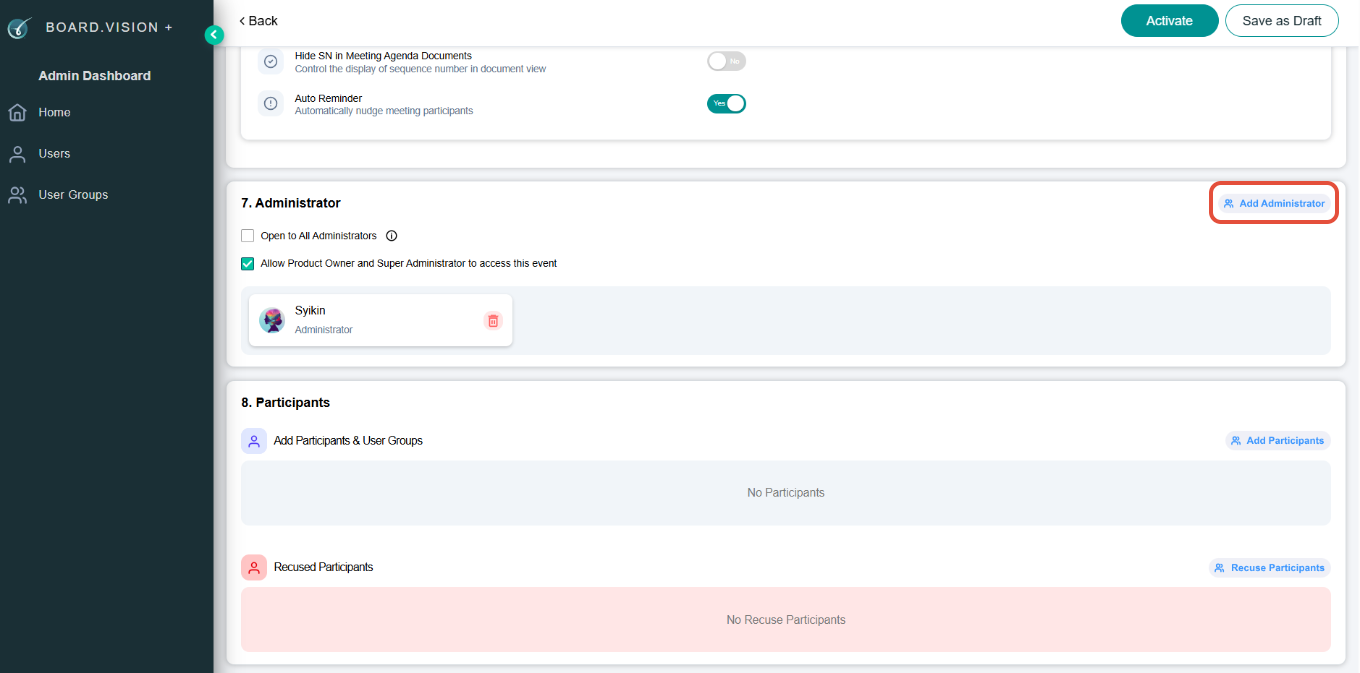
8) To add Business Users as Participants, first click on the Add Participants button, then select the Business Users you wish to add from the Add Participants pop-up window.
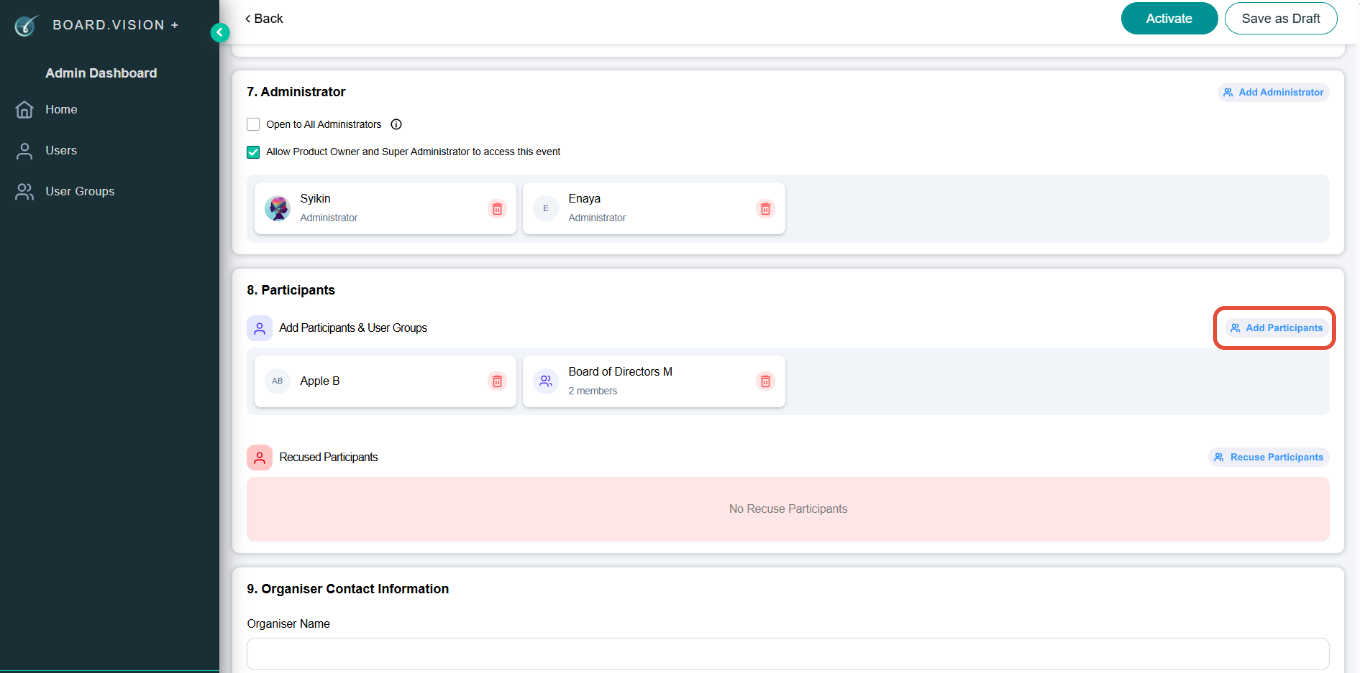
9) Click on the Recused Participants button to select any Business Users who should be recused from the meeting.
Note: Once recused, the Business User will NOT be able to view the Meeting details or documents.
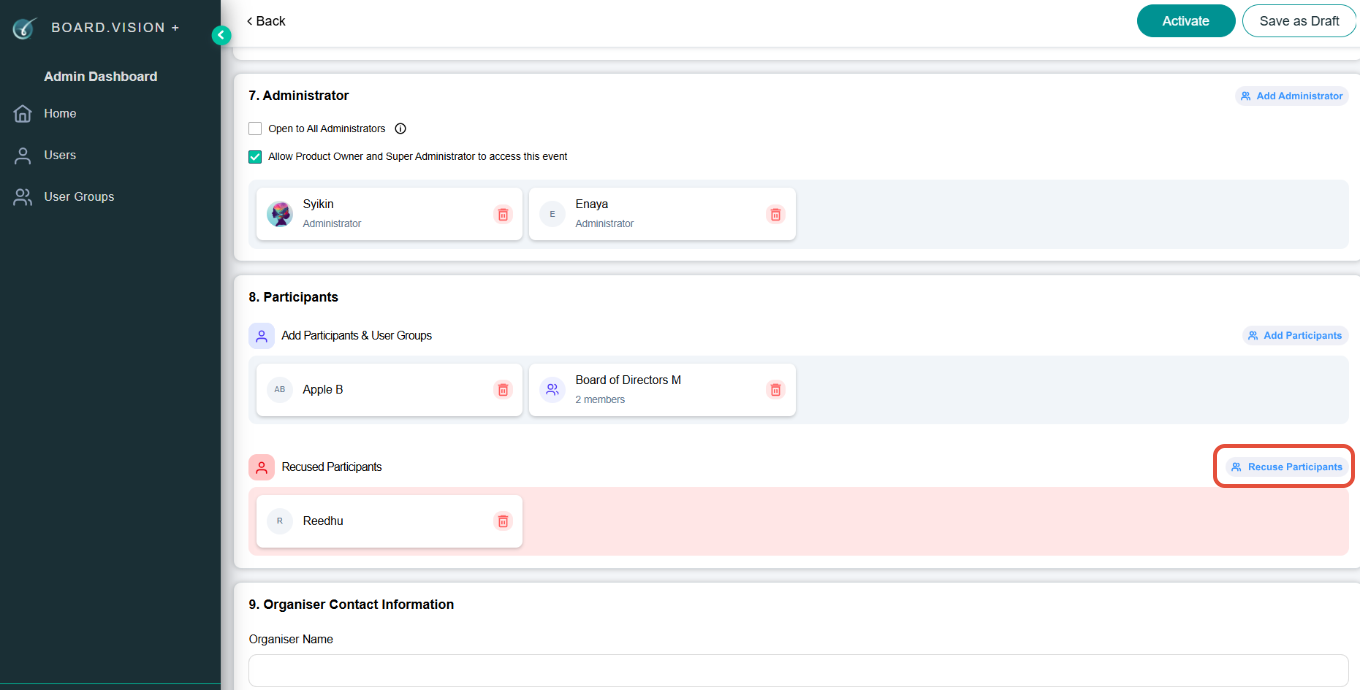
10) Next, enter the organiser details into the Organiser Contact Information section and click on the Save as Draft button at the top right of your screen to proceed to upload agenda documents.
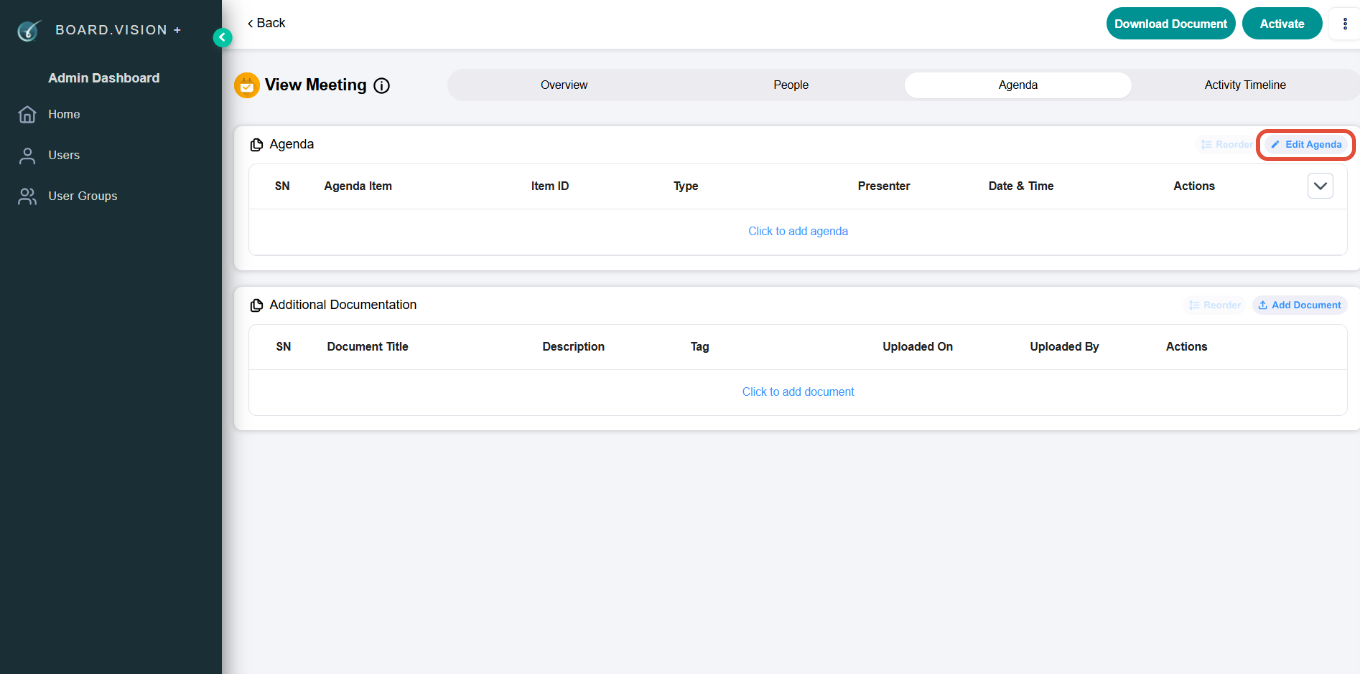
11) Under Agenda, click on Edit Agenda.
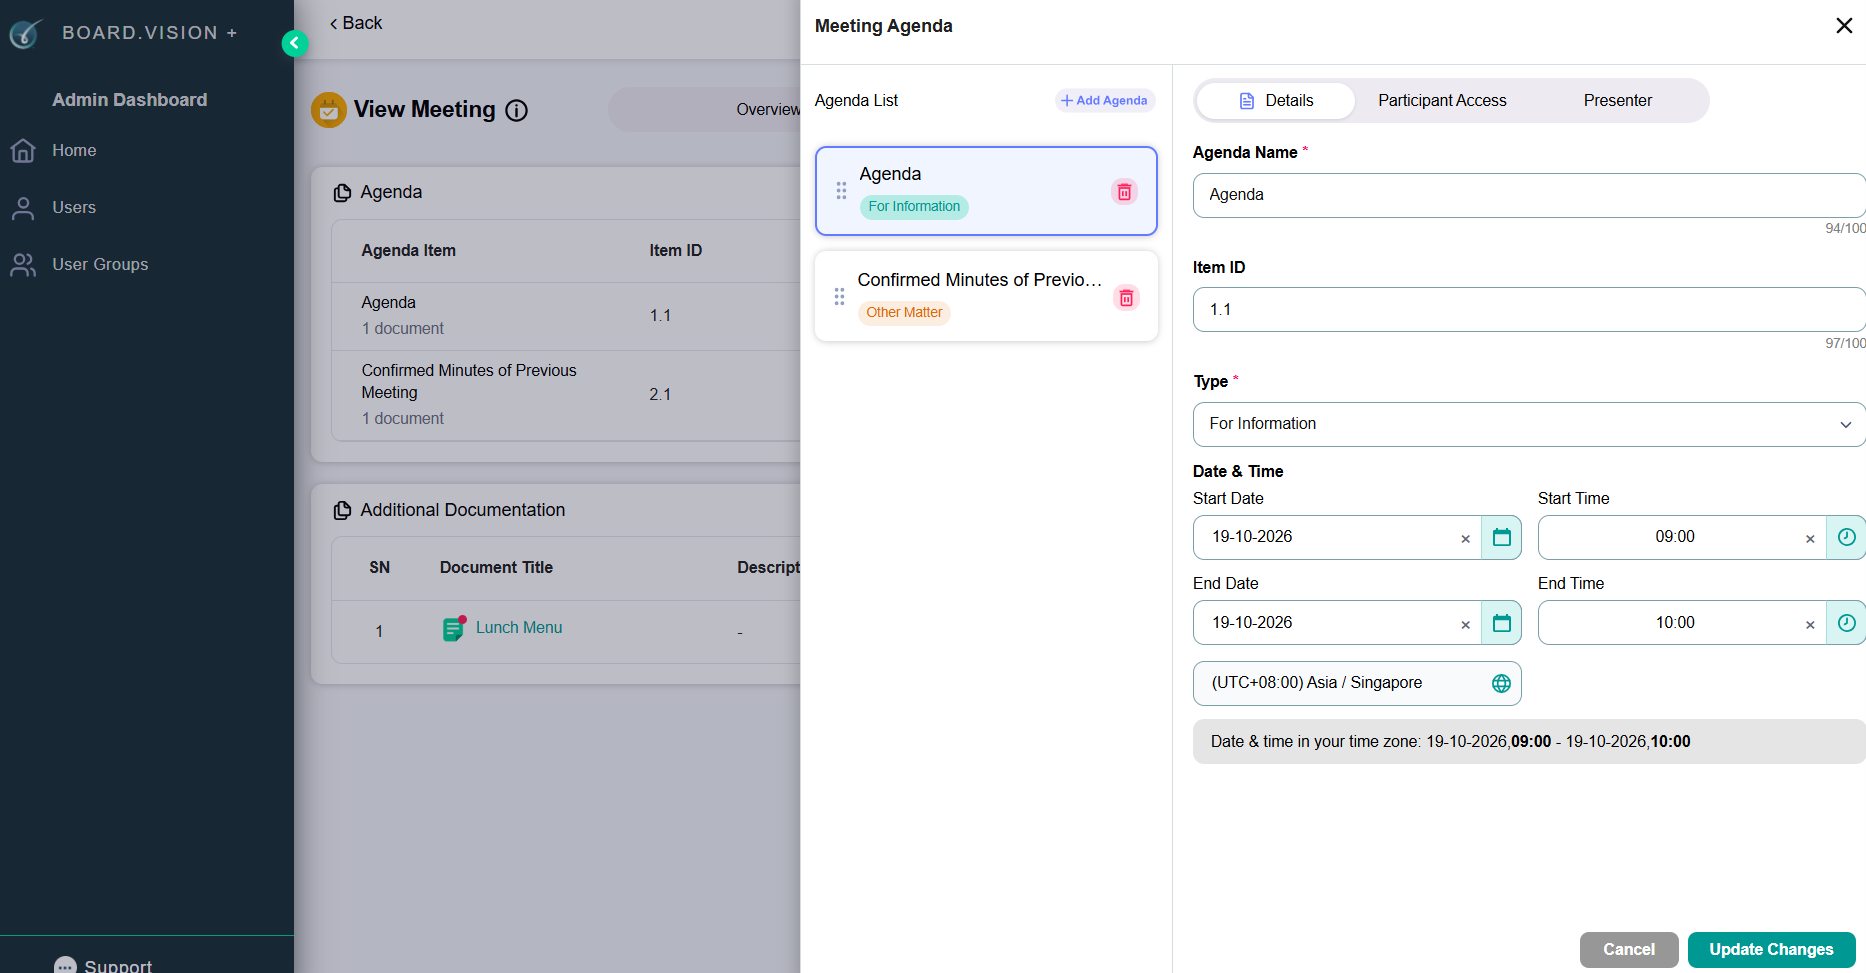
12) Details: Enter the Agenda Name, Item ID, Agenda Type, Date, and Time. You can also select the time zone.
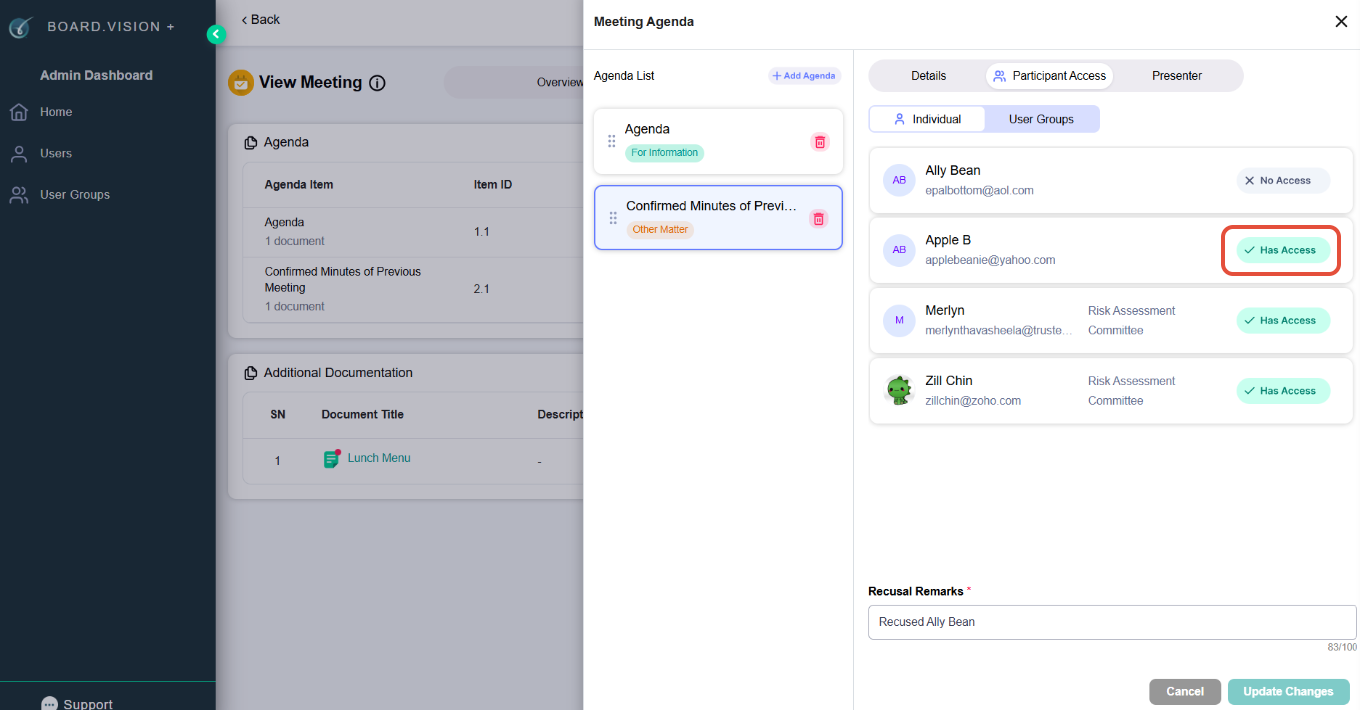
13) Participant Access: You can set who has access to the agenda by clicking on the 'Has Access' button.
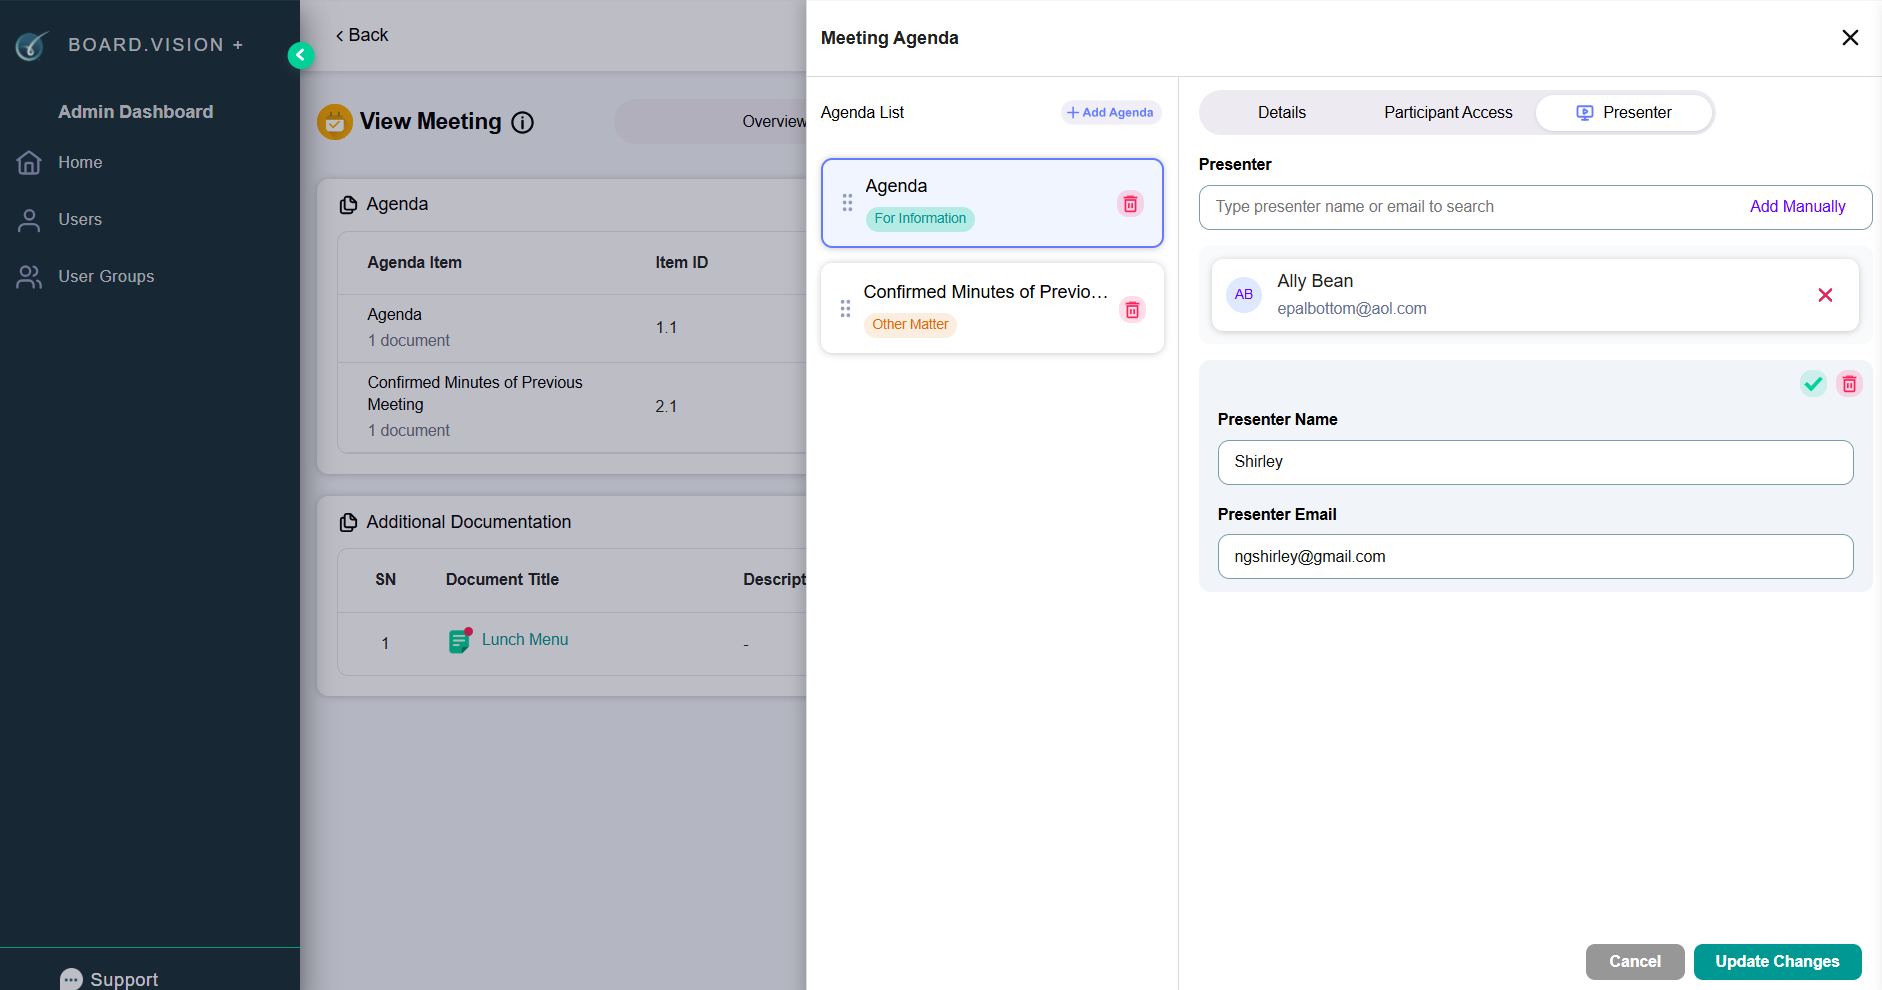
14) Presenter: You can add multiple presenters to each agenda. Enter manually or select from the list of participants.
15) Click on the Upload icon to upload documents.
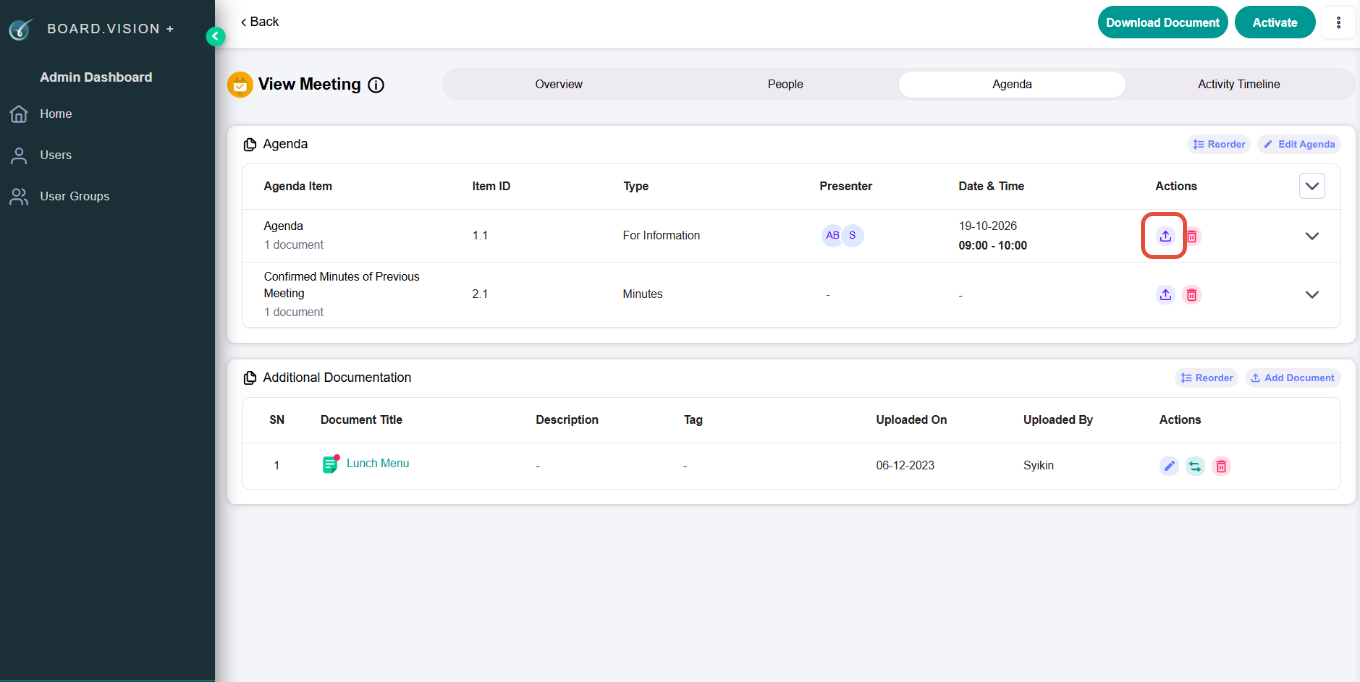
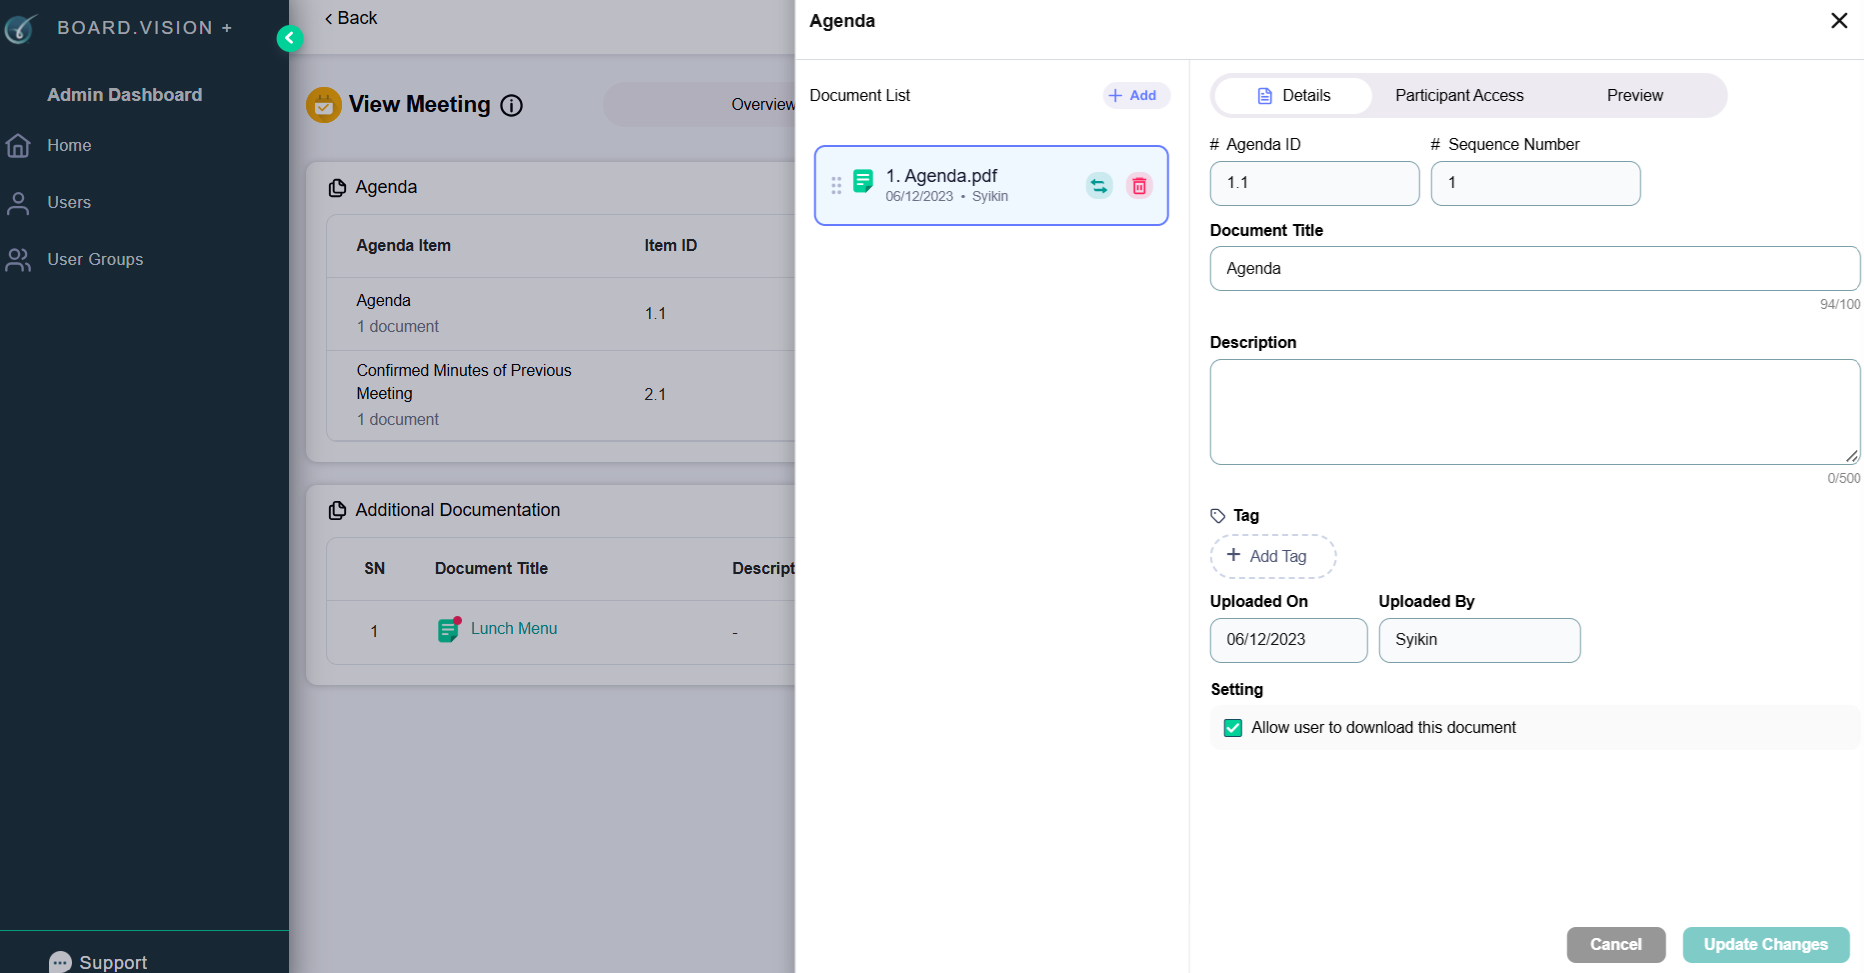
16) Once you have uploaded the document, tap on the document from the list to see more information on the right. You can do the following:
a) Details: Update the Document Title, Description, add a Tag, and set whether to allow users to download this document.
b) Participant Access: You can set who has access to the agenda document by clicking on the 'Has Access' button.
c) Preview: You can do a document preview first before confirming.
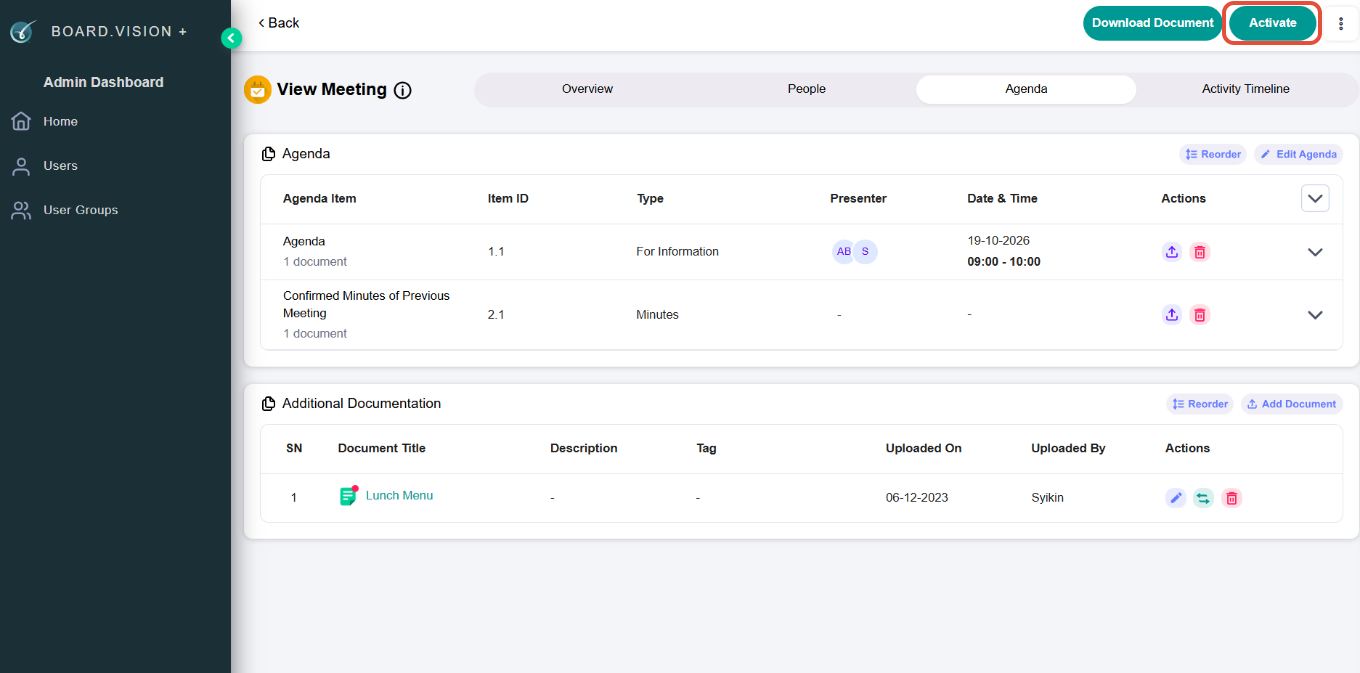
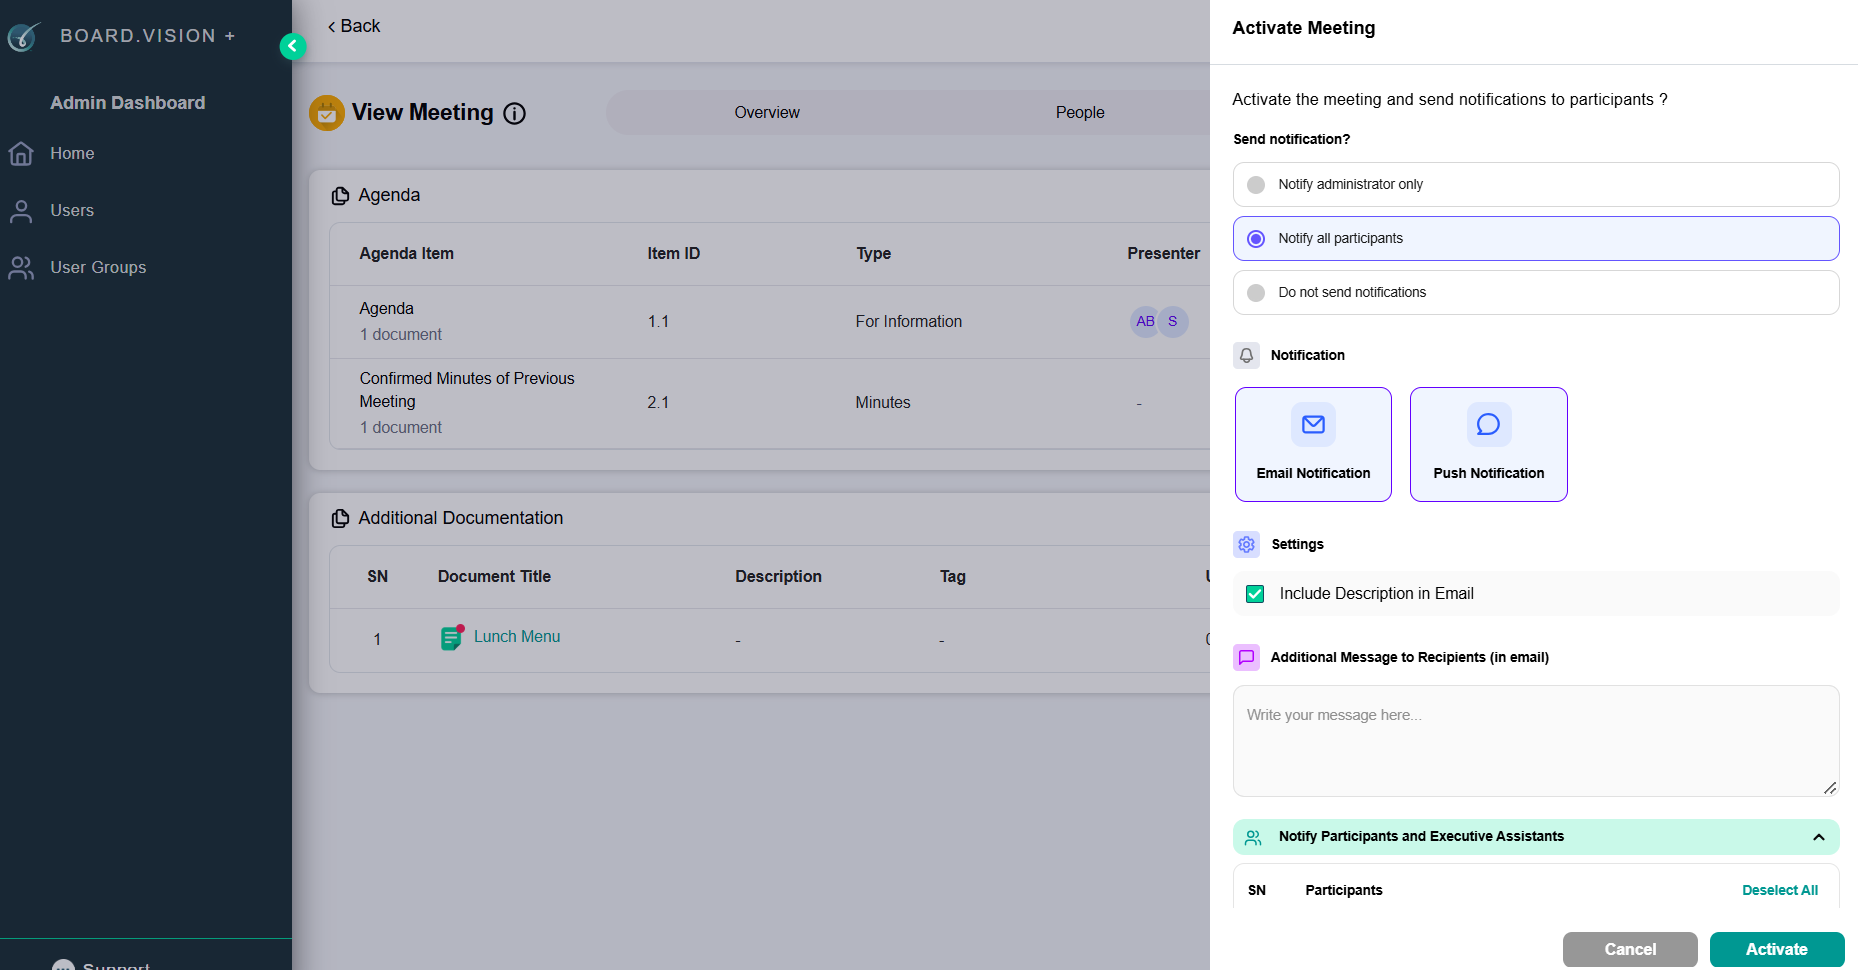
17) Click Activate.
18) Click on Notify all participants to send an email to participants and administrators.
You have completed the tutorial on how to create a meeting from the Admin Dashboard.
If you face any issues in completing the steps shown in this tutorial, please reach out to our Board.Vision Customer Success Team at support@board.vision or +65 6909 7100 and we will be happy to help.
Our hotline operating hours are from Mondays to Fridays 9:00 AM to 6:00 PM SGT (excluding public holidays).
Was this article helpful?
That’s Great!
Thank you for your feedback
Sorry! We couldn't be helpful
Thank you for your feedback
Feedback sent
We appreciate your effort and will try to fix the article