Welcome to Board.Vision Tutorials!
In this tutorial, we will walk you through the steps to annotate your personal copy of a document.
Note: This article applies to Board.Vision iPad app version 3.5.1 (Legacy UI). To experience the new iPad UI, we encourage users to update their iPadOS to 17.0 or later to ensure continued access to future Board.Vision app updates, new features, and enhancements.
To annotate your personal copy of a document:
1) Log in to the Board.Vision App with your registered email address and password.
2) Open the document you would like to annotate.
When opening a document, the Annotation icon at the top of the screen will be selected by default and the toolbar will be shown on the left side of the screen.
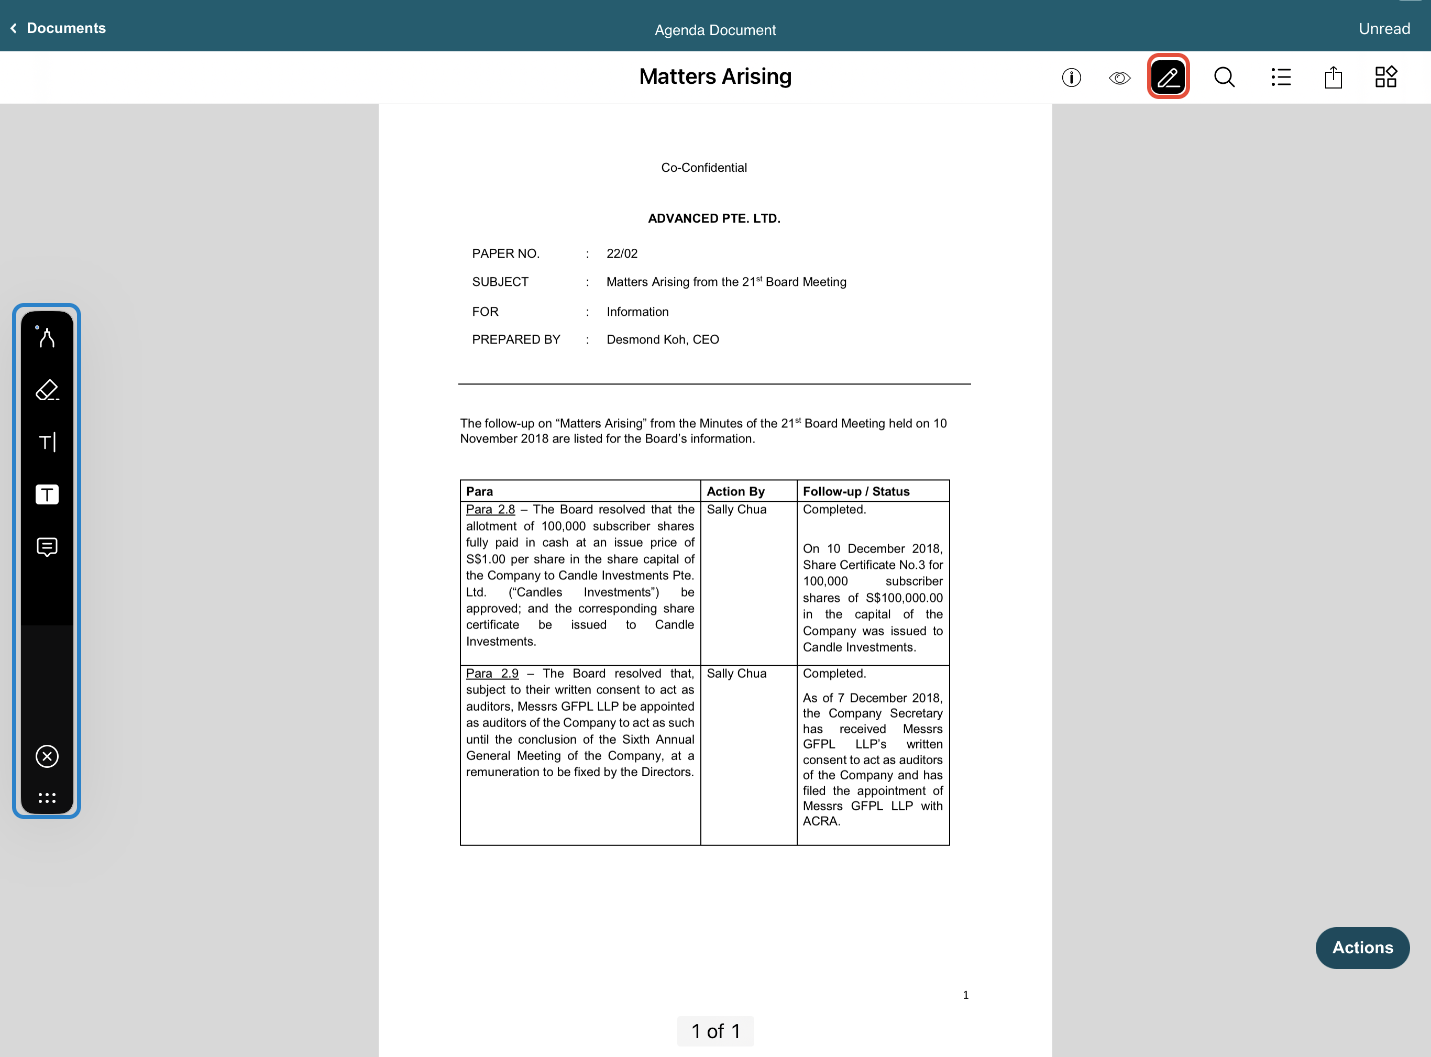
3) Choose the tool - Pen, Eraser, Insert Text, Highlighter, or Add Notes to start annotating the document.
Please note that your annotations will be auto-saved into your Board.Vision account and will be your copy hence it will not be seen by other Directors.
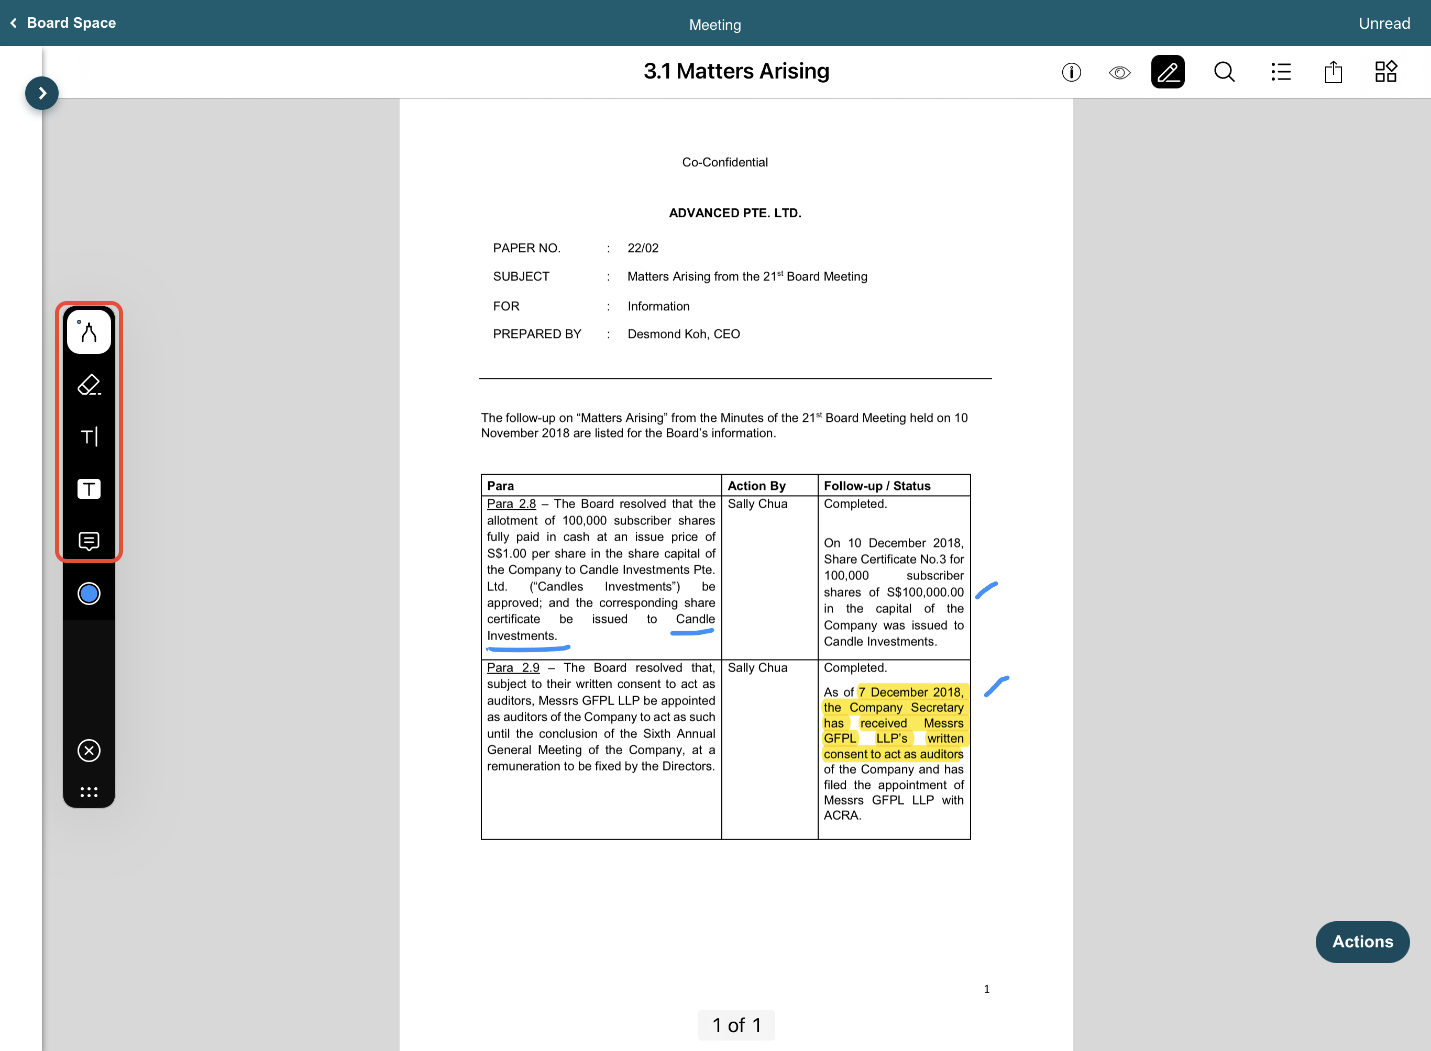
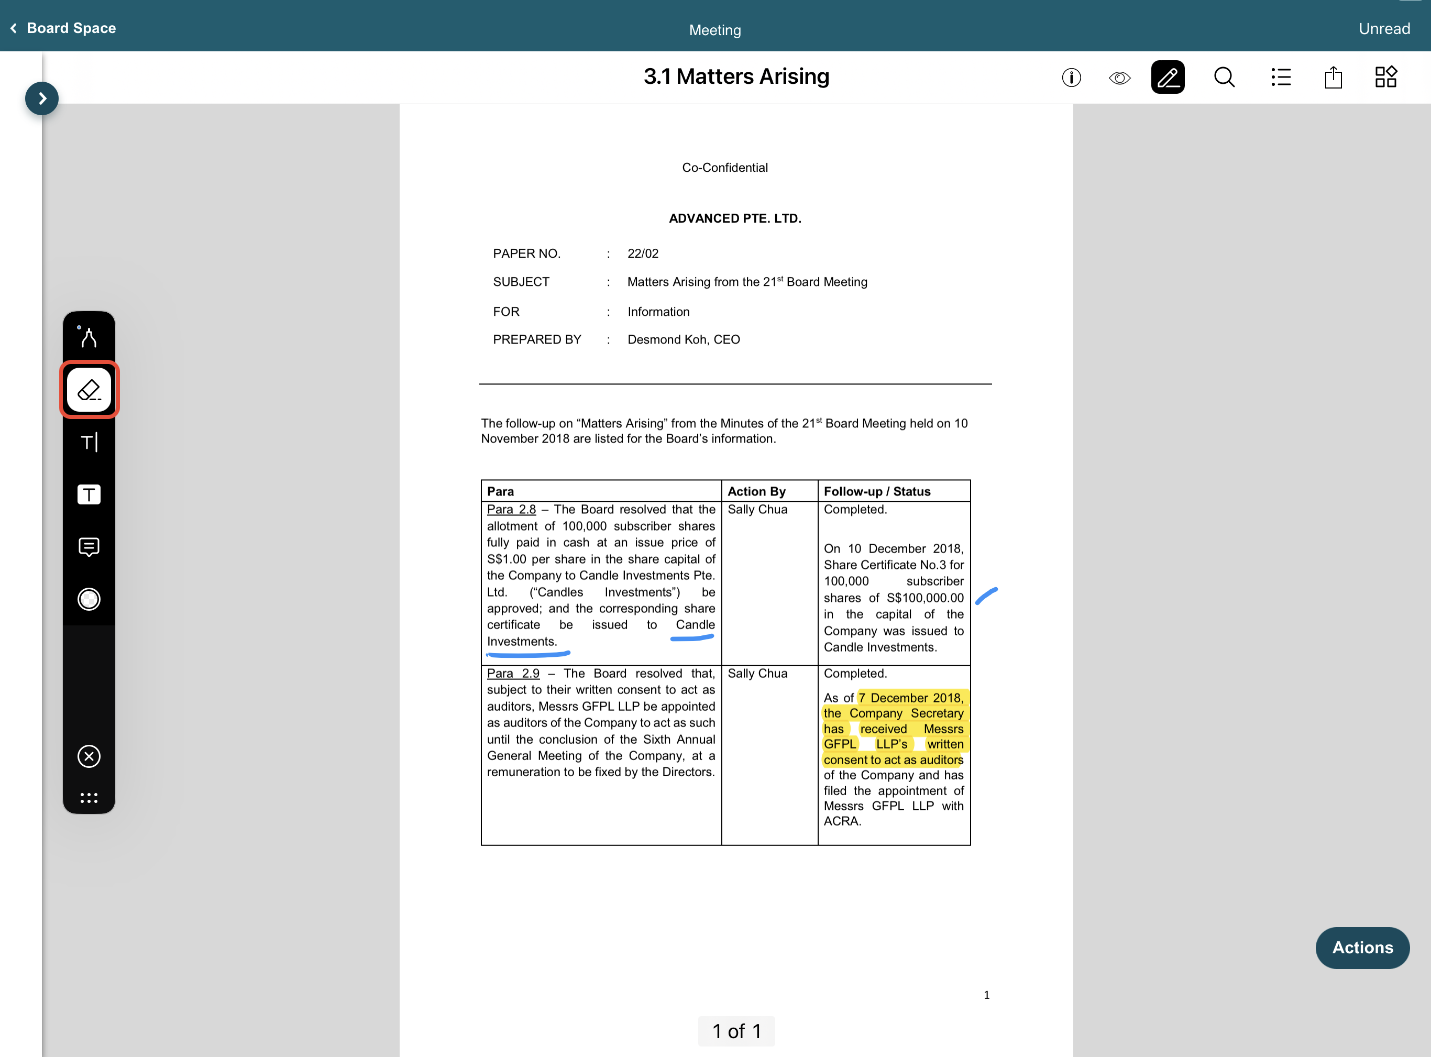
4) To delete the annotation(s),
a) Use the Eraser to remove any Pen annotations.
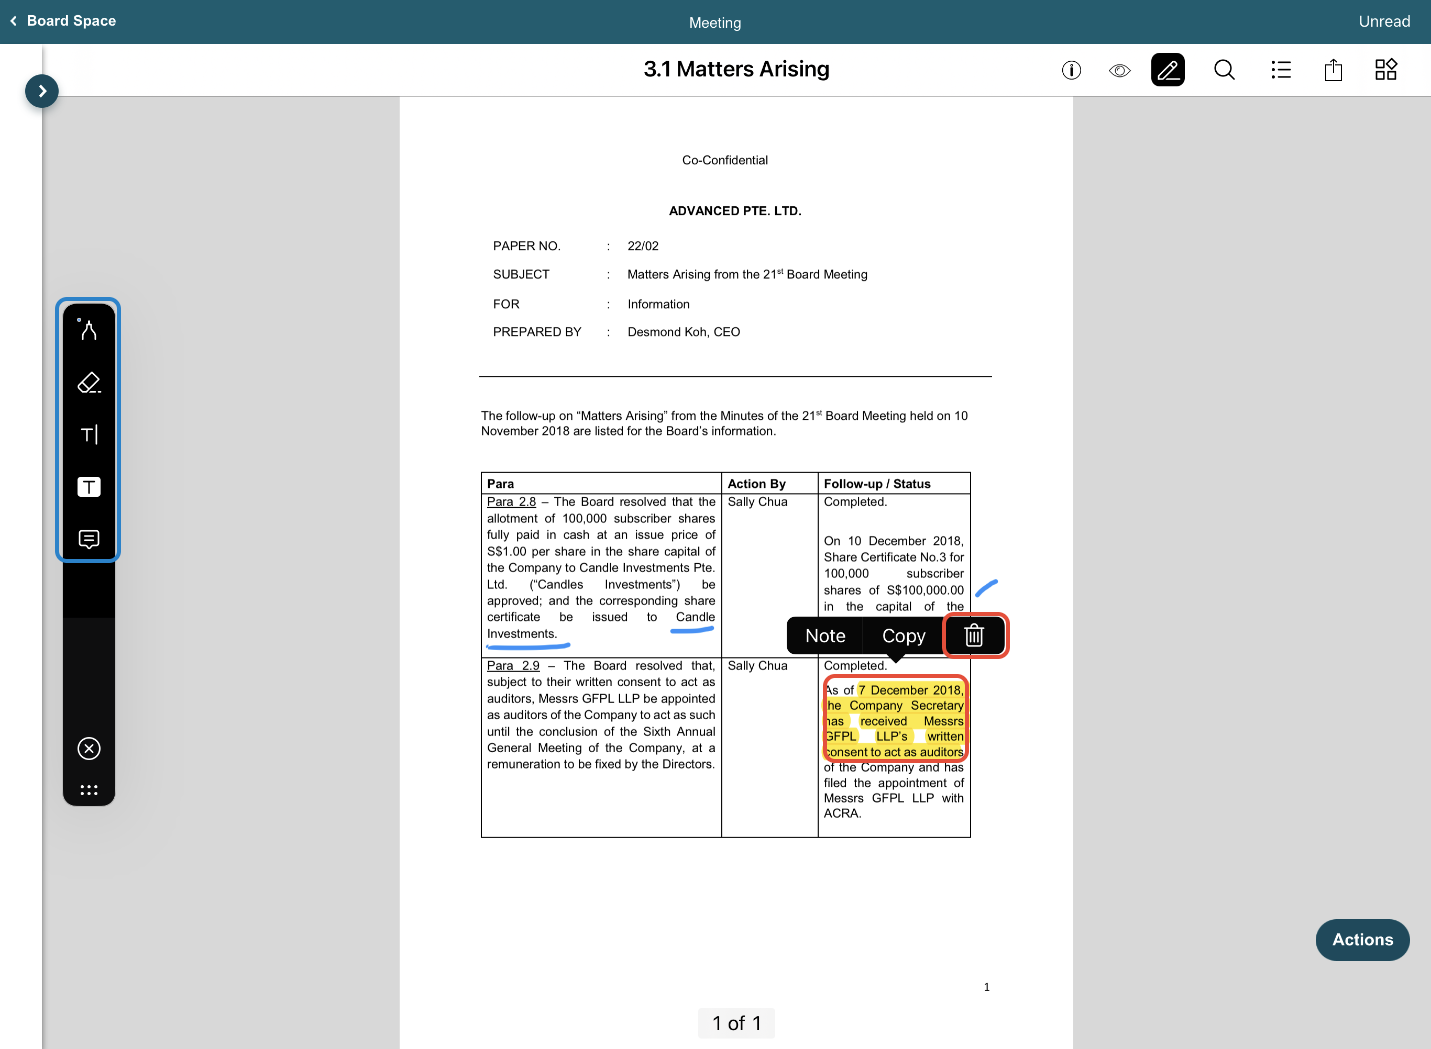
b) To remove Text, Highlight, or Note annotations, start by deselecting any annotation icons from the side toolbar. Next, choose the specific annotation you want to delete and tap on the Trash icon.
c) To delete all the annotations at once, tap on the Bookmark icon at the top of the screen. Then, select Annotations and tap on Clear All.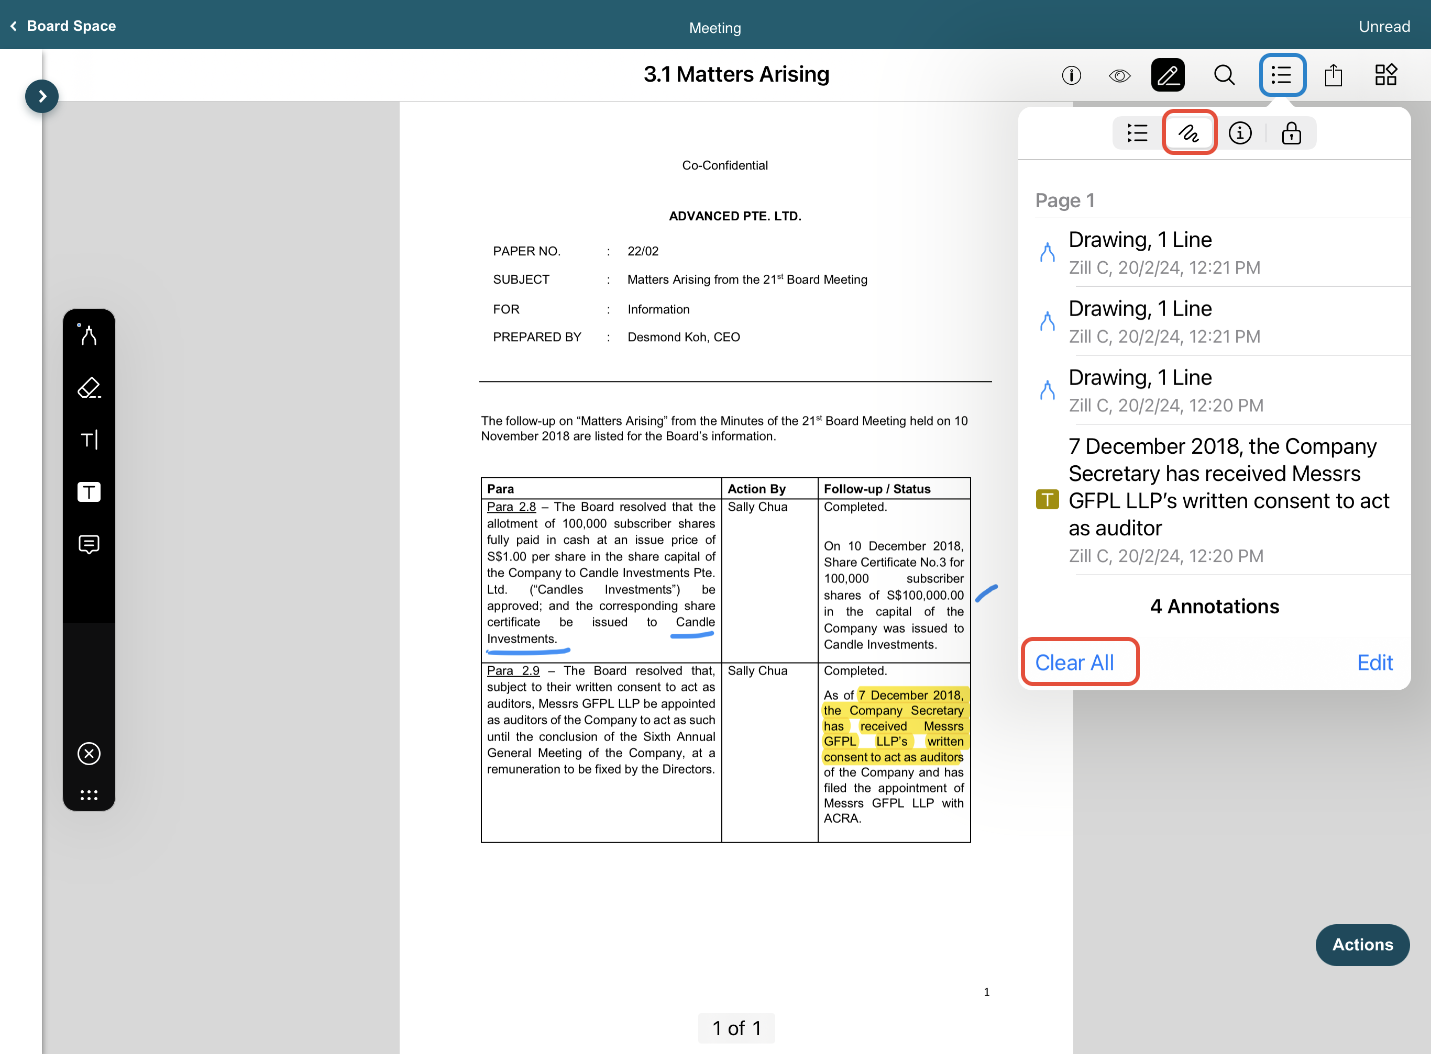
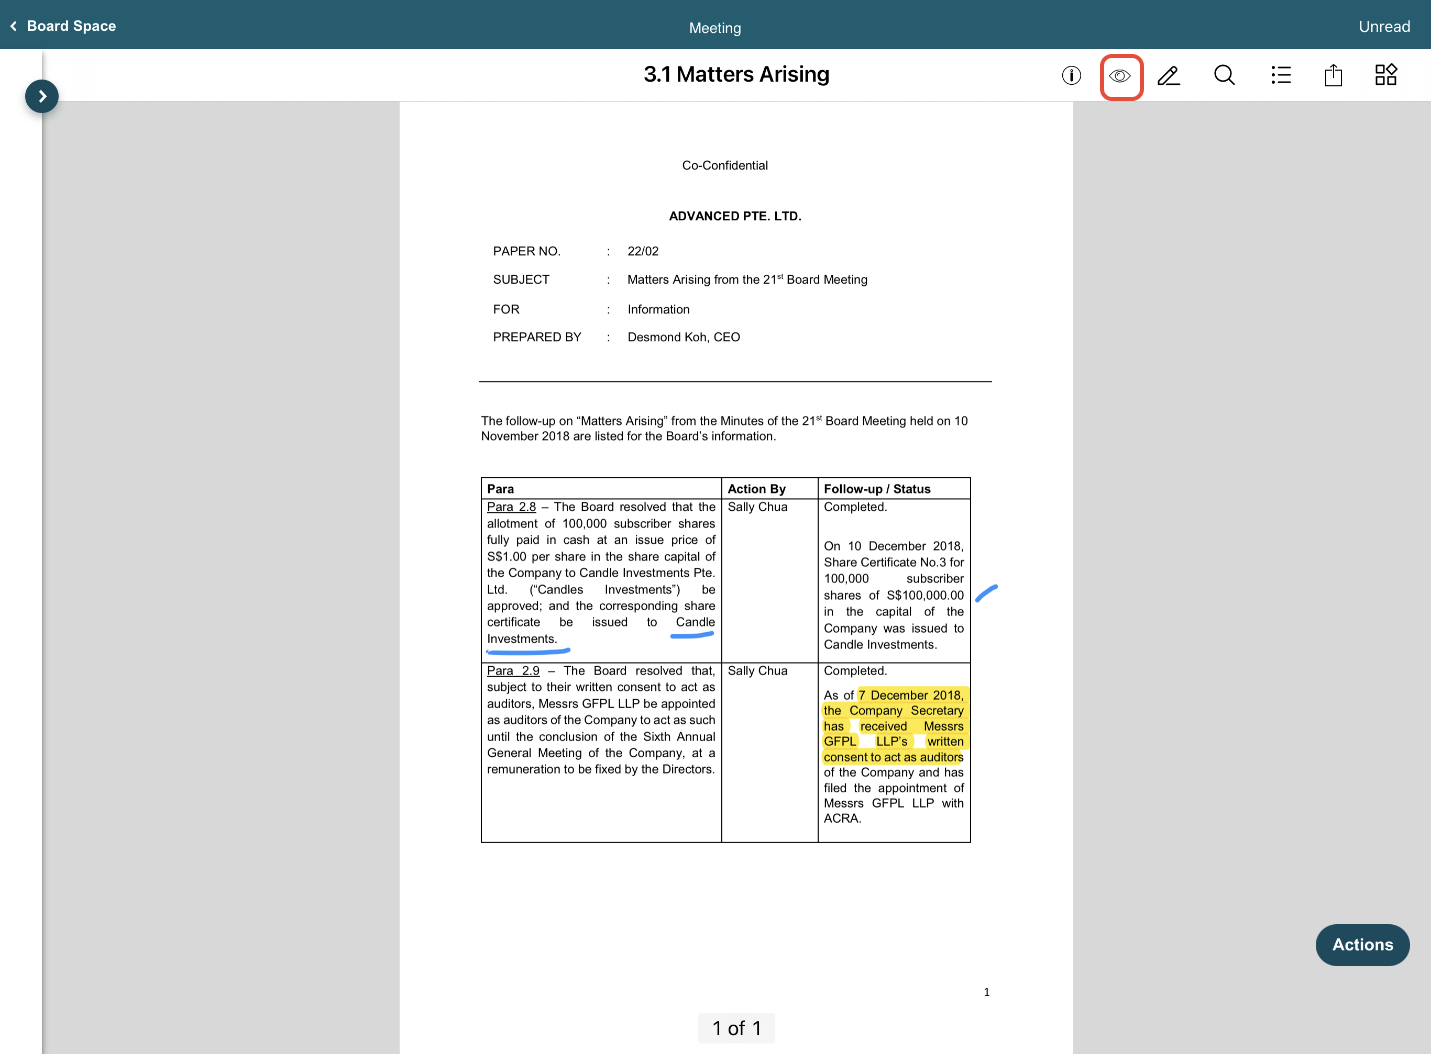
5) To view the original document, tap on the Eye icon at the top of the screen.
6) When the eye icon is displayed with a slash, it indicates that you are viewing the original version of the document without any annotations. 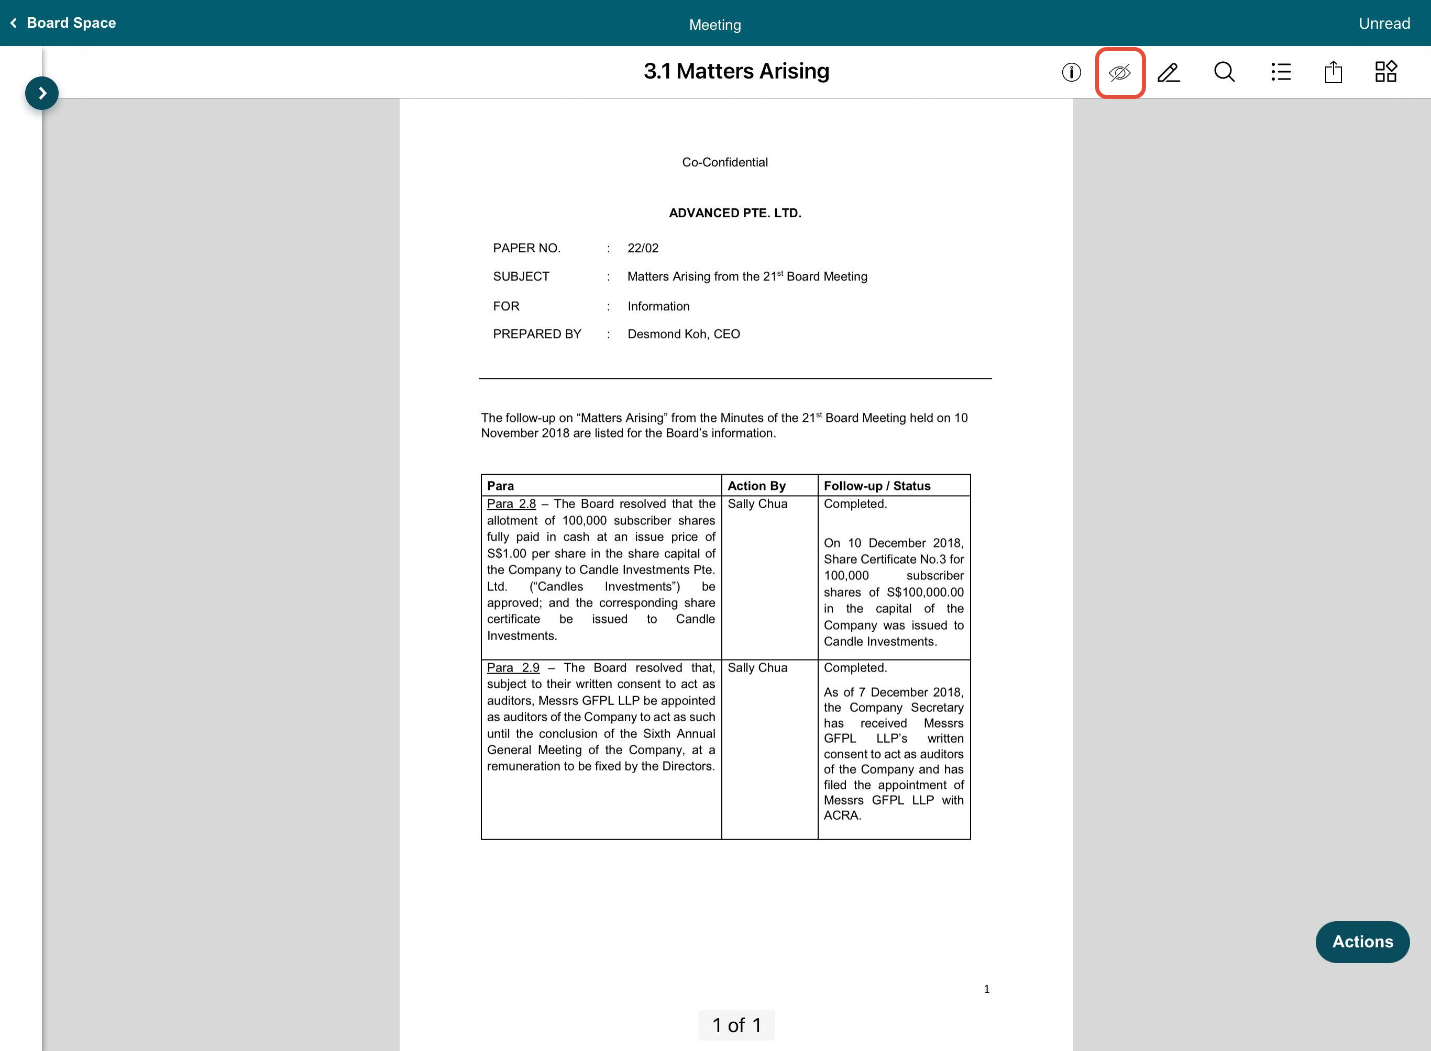
You have completed the tutorial on how to annotate documents.
Was this article helpful?
That’s Great!
Thank you for your feedback
Sorry! We couldn't be helpful
Thank you for your feedback
Feedback sent
We appreciate your effort and will try to fix the article