User Managers can create, update, assign roles, and manage access for directors, executives, and administrative staff on the Board.Vision desktop portal.
In this article, we will walk you through the steps on how to activate your Board.Vision account and create new users.
Once you have been added to Board.Vision as a user, you can access it via Google Chrome (version 65.0 and later) and Microsoft Edge (version 87.0 and later) from https://app.board.vision.
1. Account Activation & Login
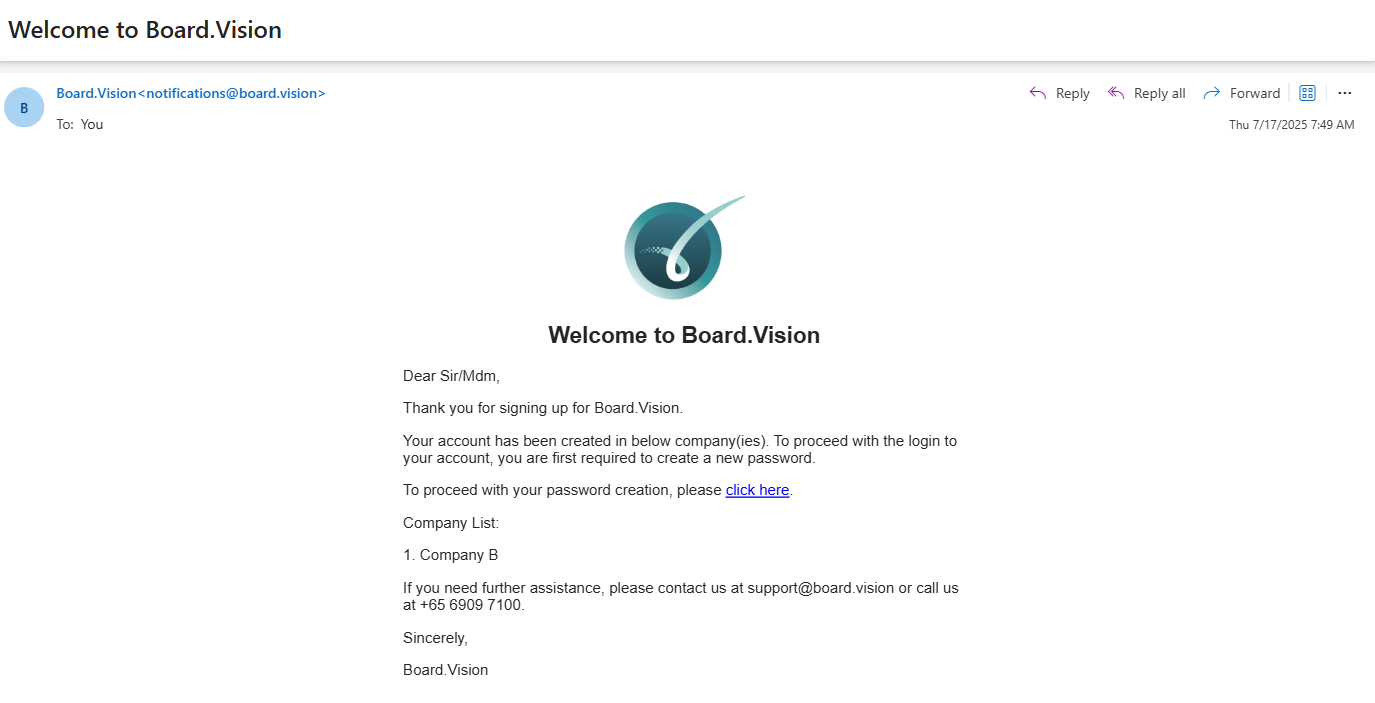
- Locate the email sent from Board.Vision <notifications@board.vision> and click the activation link.
- Create a secure password.
- Read and accept the Terms of Use.
- If your account is registered under multiple companies, select the entity you wish to access.
- Enter the 6-digit One-Time Password (OTP) sent to your registered mobile number or email.
For detailed instructions on activating your Board.Vision account using a desktop or laptop, please click the links below:
- For Normal users: Activating your Board.Vision Account via Desktop or Laptop
- For Single Sign-On (SSO) users: Activating your Board.Vision Account via Desktop or Laptop (For Single-Sign On Users)
Daily Login Procedure
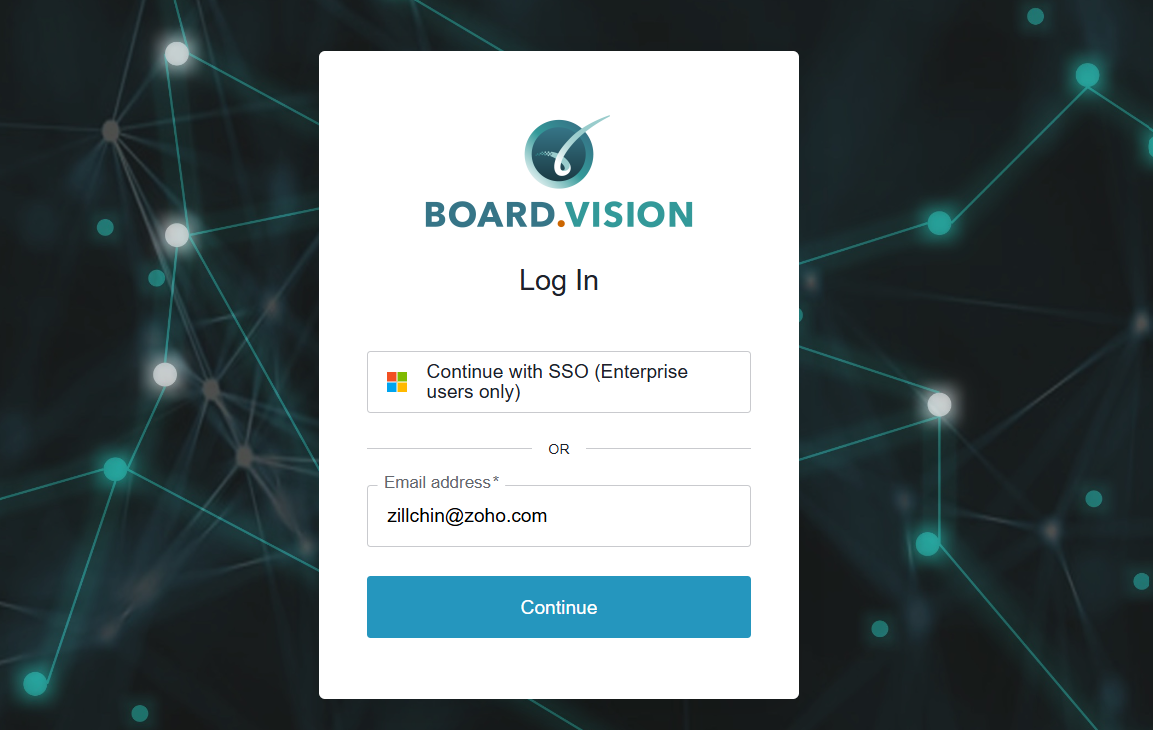
Go to Board.Vision.
Enter your registered email address and click Continue.
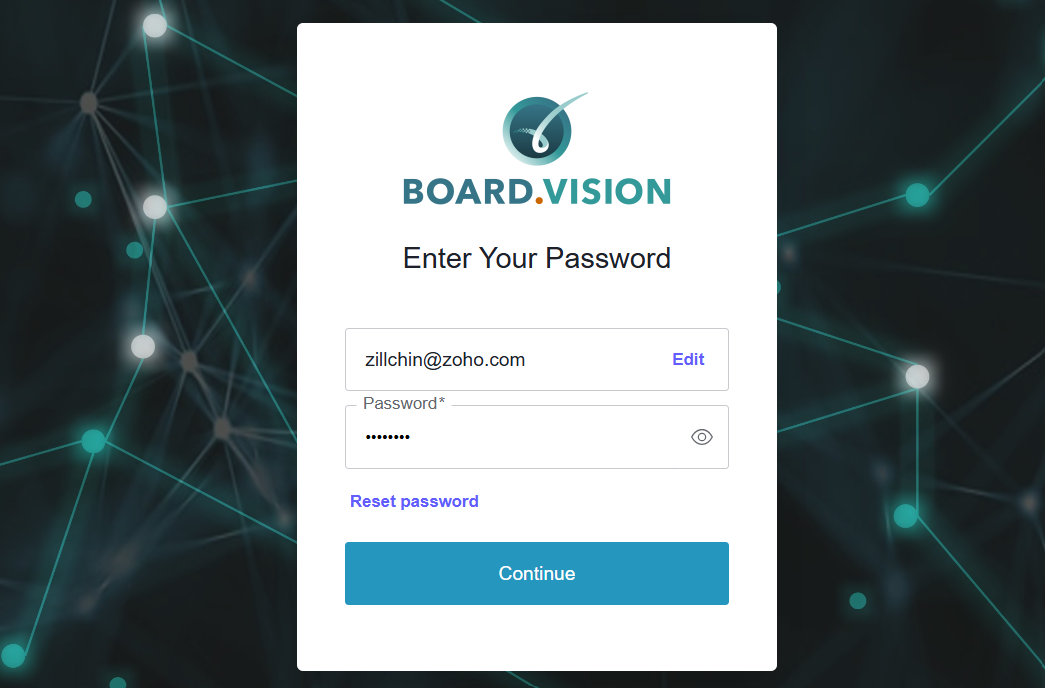
On the following screen, enter your password and select Continue. If your organisation utilises single sign-on (SSO), you are only required to enter your email address.
2. Creating New Users
Option A: Add an Individual User
Navigate to Users from the left navigation menu.
Click on the + Add User button at the top right corner.
Fill in the required user details:
Title
First & Last Name
Designation
Email Address & Contact Number
Assign the appropriate System Role(s) (e.g., Administrator, Executive Assistant, Director, User Manager).
Click Activate and Send Invite.
Option B: Add Users in Bulk (Bulk Upload)
Go to Users and click Bulk Upload.
Download the standard Board.Vision Excel Template.
Fill in user information according to the template guidelines (ensure correct formatting for email addresses and mobile numbers).
Save the file and upload it via the Upload button.
Activate and notify users in 'Draft' status.
3. Creating Special User Roles (e.g., Auditor Role)
Under User Management, click + Add User.
Input the required user's details.
Under System Role, select the Auditor role.
Click Save as Draft.
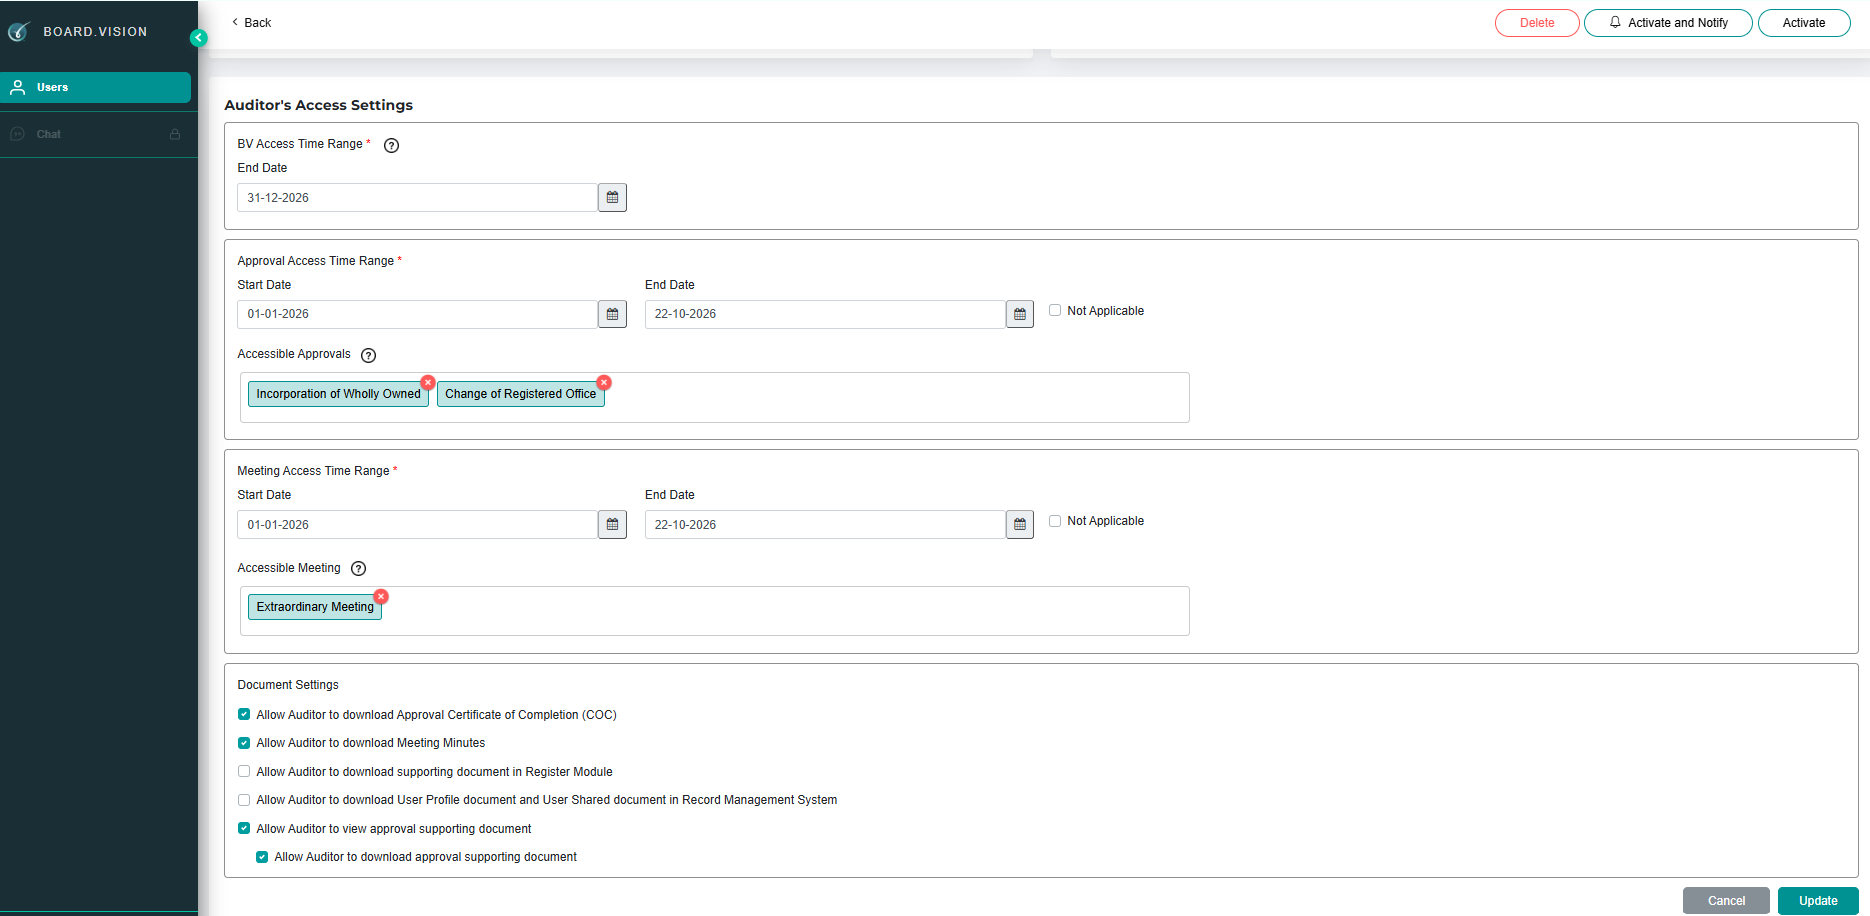
Edit Auditor's Access Settings to set access permissions:
Define specific meeting or approval permissions if restricted access is required.
Set Document Settings.
Click Activate and Notify.
3. Managing & Editing Existing Users
Edit Profile / Roles: Click on the user's name from the user list, select Edit, update details or system roles, and click Confirm.
Resend Activation Email: Select the user whose account is pending activation, click Resend Invite.
Deactivate / Reclaim License: When an administrator or director leaves, select the user profile and choose Deactivate user to free up the allocated license slot.
If you face any issues, please reach out to our Board.Vision Customer Success Team at support@board.vision or +65 6909 7100 and we will be happy to help.
Our hotline operating hours are from Mondays to Fridays 9:00 AM to 6:00 PM SGT (excluding public holidays).
Was this article helpful?
That’s Great!
Thank you for your feedback
Sorry! We couldn't be helpful
Thank you for your feedback
Feedback sent
We appreciate your effort and will try to fix the article